Curbless Shower Drainage and Slope Guide
Curbless shower drainage fails when the floor slope is wrong, not when the room “needs a better drain.” The right slope, drain type, and waterproofing…
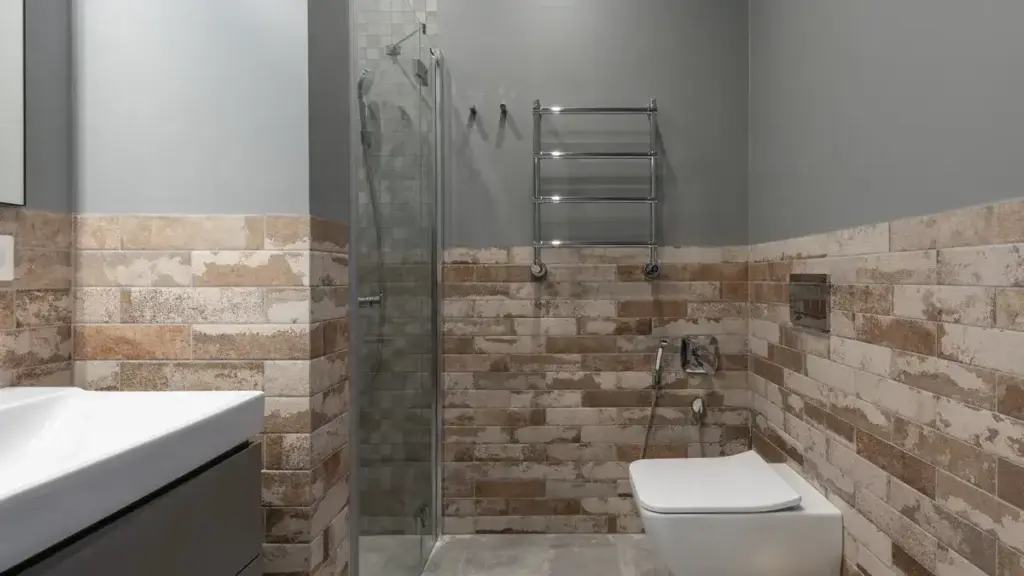
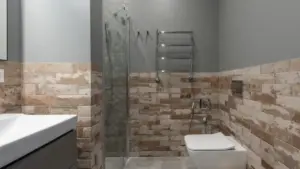
Bathroom with shower, wall tiles, and wall-mounted toilet
Last updated: November 14, 2026
Curbless shower drainage fails when the floor slope is wrong, not when the room “needs a better drain.” The right slope, drain type, and waterproofing detail have to work together. Curbless Shower Drainage and Slope — The Complete Guide covers what slope you need, where the drain belongs, and why many curbless builds fail at the threshold.
A 15-year tile and waterproofing viewpoint matters here because tiny slope mistakes create ponding, tile lippage, and leaks that don’t show up until the floor is finished. A 1/4 inch per foot slope is the common target, and the Tile Council of North America details shower receptor design in its Handbook while ANSI A108/A118/A136 standards govern tile-setting materials and installation methods used in wet areas.
Key Takeaways
- A curbless entry works only when the floor, drain, and waterproofing are planned as one system.
- The slope should move water to the drain without creating a toe-stubbing ridge at the entry.
- Linear drains and point drains solve different problems; neither is magic.
- The biggest failures come from bad framing, bad drain placement, or a floor that was flattened after waterproofing.
- A flush look is possible, but it has less room for error than a stepped curb.
What slope does a curbless shower need?
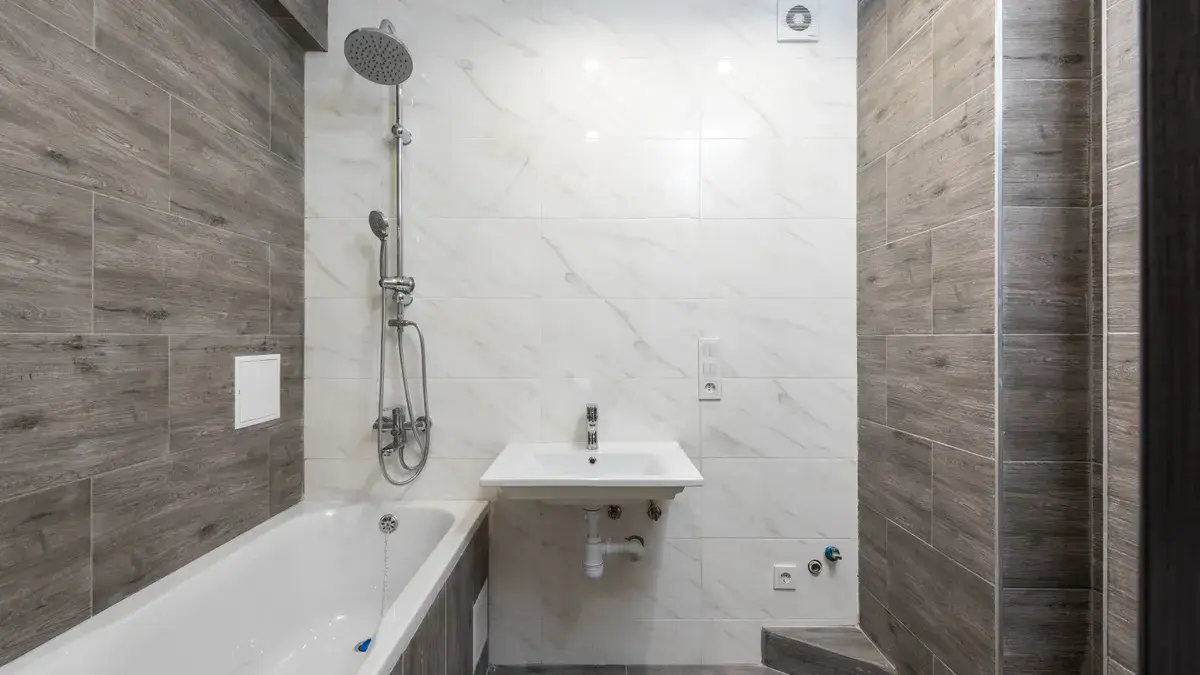
A curbless shower usually needs a 1/4 inch per foot slope to the drain, but the real answer depends on the drain type, tile size, and how far water must travel before it reaches the drain. That is the baseline most installers work from because it moves water fast enough without making the floor feel steep.
You want a flat-looking bathroom floor, but water still has to move somewhere. That means the floor can’t be flat in the room-builder sense; it needs a controlled fall that starts at the right point and ends at the drain. A 1/4 inch per foot slope is the common target because it balances drainage and comfort.
No shortcuts.
Here’s the catch: slope is not just a number, it’s a path. If the drain sits too far from the wet zone, the floor needs more drop, which can create a visible slope at the room edge. If the slope is too shallow, water lingers and grout stains faster. The Tile Council of North America details shower receptor design in its Handbook, and ANSI A108/A118/A136 standards govern tile-setting materials and installation methods used in wet areas.
- A 1/4 inch per foot slope is the common target.
- Longer water travel can require a better drain position, not just more slope.
- The flatter the floor looks, the more exact the framing has to be.
- The finished tile surface must match the planned slope, not fight it.
A common beginner mistake is assuming the tile setter can “make it work” with mortar alone. That usually leads to one of two problems: water pools at the back wall, or the entrance gets too steep to feel natural underfoot. The smarter move is to shape the floor structure before the pan goes in.
Where should the drain go in a curbless design?
The drain should go where it shortens water travel, not where it looks centered on paper. In most curbless builds, that means a linear drain at the entrance or along one wall, or a carefully placed point drain that keeps the entry zone low enough to step through cleanly.
You have one shot to set the floor before tile. If the drain is too far back, the slope has to run across the whole wet area. If it’s too close to the opening, the entry can feel dry but the back of the floor may never drain cleanly.
Placement drives everything.
The drain location depends on the room, not the catalog photo. A linear drain at the opening can reduce the amount of slope visible in the room because the floor can pitch in one direction. A centered point drain usually forces four-way slope, which is harder to make look clean with large-format tile and less forgiving at the edges.
- Entrance linear drain: often best for a true flush look.
- Wall drain: can hide the drain line and simplify the floor plane.
- Center point drain: cheaper in many builds, but harder to execute well in a curbless layout.
- Far-wall drain: can work only when the room depth and framing allow enough slope.
The truth is, drain choice changes the whole structure below the tile. Some systems are built for bonding-flange waterproofing with a pre-sloped assembly, while others rely on a more traditional mortar bed. If the drain is chosen last, the floor geometry often gets compromised to fit it. That is backward.
Linear drain or point drain: which one works better?
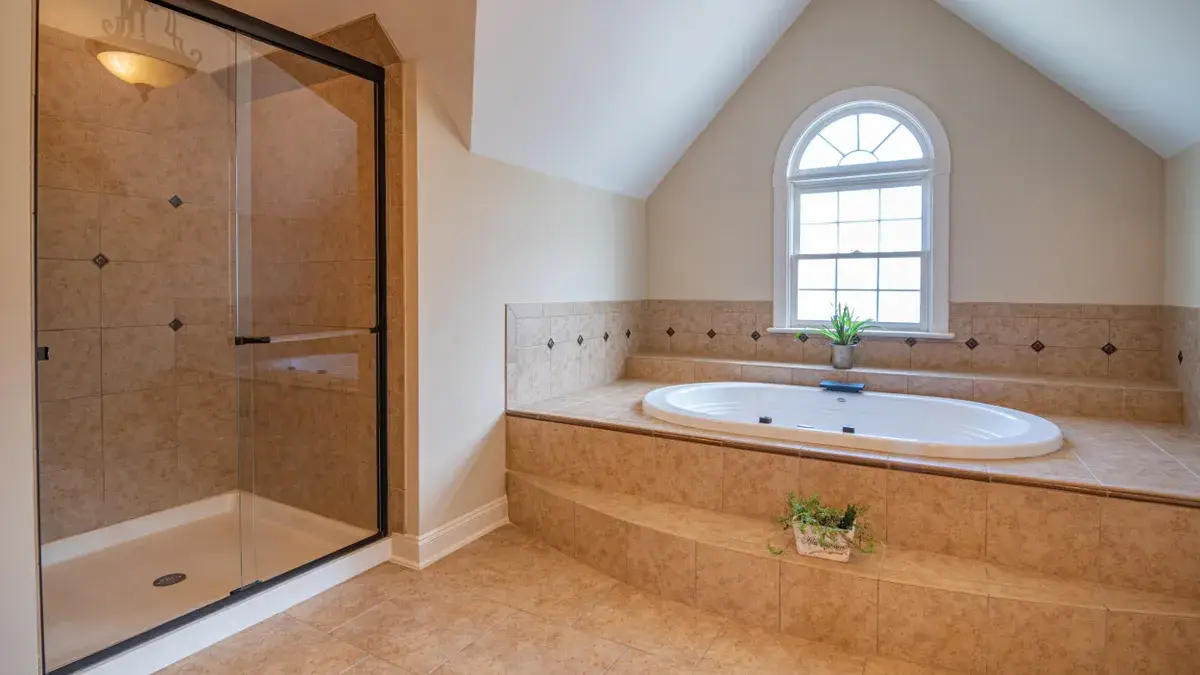
A linear drain often works better for most curbless showers because it gives the floor one clear direction to slope, which makes a flush transition easier to design and easier to tile. A point drain can still work, but it asks more from the floor framing and the tile layout.
You’re trying to keep the bathroom floor level while also moving every drop of water to one place. A linear drain gives you a long capture line, so the rest of the floor can pitch in a single plane. That is why it’s the go-to choice for many curbless projects.
Cleaner geometry.
The case for a point drain is usually cost and simplicity of parts. It can be fine in a smaller wet area, especially if the room already has the needed slope and the tile format is modest. But a point drain creates multiple slope directions, and that often makes large tile cuts awkward. It also raises the odds of tiny birdbaths where four planes meet.
The real differences that matter
| Criteria | Linear Drain | Point Drain | Winner for this condition |
|---|---|---|---|
| Floor slope shape | One-direction slope is simpler | Four-way slope is more complex | Linear drain for clean layout |
| Visual finish | Easier to hide slope change | More visible plane changes | Linear drain for modern look |
| Tile layout | Better with large-format tile | Easier with smaller tile | Point drain for small tile |
| Framing demands | Needs careful drain positioning | More forgiving in some rooms | Point drain for simple retrofit |
| Waterproofing detailing | More surface area at drain line | Concentrated at one point | Depends on system |
| Cleaning access | Long grate or channel may collect debris | Smaller opening can be easier to inspect | Depends on maintenance habits |
| Cost of system parts | Often higher | Often lower | Point drain for budget constraint |
| Entry transition | Better for zero-threshold feel | Can still work, but less flexible | Linear drain for true curbless |
| Installation tolerance | Less room for error in alignment | More tolerant of small layout shifts | Point drain for rougher framing |
The better drain is the one that matches the room depth, the joist direction, and the tile size you plan to use. If any of those are mismatched, even a premium drain system can perform badly.
How do you build the slope without making the entry too steep?
You keep the shower zone slightly lower than the dry floor area and plan the slope into the structure, not just the finish tile. In a curbless layout, the biggest mistake is trying to create all the fall in the thinset or mortar bed after the framing is already fixed.
The bathroom is framed, the drain is chosen, and now the tile setter has to make water run downhill without creating a visible hump at the door. That only works when the subfloor, joists, and pan assembly were planned together from the start.
Structure first.
There are three common ways the slope gets built:
- Recessed subfloor or lowered joists create room for slope without raising the finished bathroom floor.
- Pre-sloped shower systems provide the fall built into the assembly.
- Mortar bed systems shape the floor in the field, which requires careful workmanship and compatible waterproofing.
Each method has a trade-off. A recessed floor helps the finished entry stay low, but it may require carpentry changes. A pre-sloped system speeds planning, but the drain location must still fit the room. A mortar bed can adapt to odd shapes, yet it leaves less margin for error if the substrate isn’t right.
- Lowering the shower area helps preserve a true zero-threshold transition.
- The floor must still meet waterproofing and tile-setting requirements.
- The slope must be continuous from the wettest point to the drain.
- A smooth transition matters as much as the drain itself.
One more thing that gets missed: the bathroom outside the shower can’t just slope randomly toward the wet area. That can send splash water into the rest of the room and make the whole floor feel uneven. The transition should be deliberate, not accidental.
What waterproofing details matter most?
The waterproofing layer must tie into the drain system correctly, or the slope doesn’t matter much because water can still escape where tile meets the drain. In a curbless build, the drain connection is one of the most sensitive parts of the whole assembly.
The tile looks perfect, the slope feels right, and then water starts appearing where it shouldn’t. That usually means the waterproofing detail was wrong, not the tile.
Bad tie-in.
The critical point is how the membrane meets the drain. Bonding-flange drains are made for surface-applied waterproofing membranes, while other drain types use different connection methods. If the wrong waterproofing approach is paired with the wrong drain, the system can fail even if the floor slope is perfect.
The Tile Council of North America’s Handbook is the reference many pros use for shower receptor details, and ANSI standards guide the materials and methods used with tile. For manufacturers, follow the drain’s listed instructions exactly; mixing systems is where trouble starts.
- Surface waterproofing keeps the wet layer closer to the tile surface.
- The drain connection must match the membrane type.
- Corners, seams, and transitions need the same care as the pan.
- Penetrations for benches, glass, or fixtures should be planned before waterproofing starts.
Many curbless failures are not slope failures at all. They are waterproofing failures that only show up after the first few months of use. That is why “the tile looks level” is not a useful final check. The assembly has to be built to drain, not just to look flat.
How do you know the floor pitch is right?
The pitch is right when water flows to the drain without leaving persistent puddles, the entry feels comfortable underfoot, and the tile layout stays true to the planned slope. If any one of those fails, the slope needs revision.
You’re standing at the threshold after the floor is set. If the drain is doing its job, water heads where it should and doesn’t hang around in the wrong corners. If it’s not, you’ll notice it fast — especially at the low spots near grout joints.
Field check.
A good layout starts with a dry fit and a slope plan before tile goes down. On paper, that means measuring the distance from the drain to the farthest point and deciding how much fall the floor can tolerate without making the entrance awkward. In real life, the tile setter also has to account for tile thickness, mortar thickness, and any transition strips at the bathroom edge.
- Look for standing water after normal use, not just after a splash test.
- Check corners where planes meet; those are the usual puddle spots.
- Watch the transition to the dry floor area.
- Make sure the slope is consistent, not lumpy.
A common error is to judge the floor by eye alone. A slight unevenness can look fine and still create a dead spot where water lingers. Another mistake is using oversized tile on a slope that needs many tiny corrections. Large tile can look great in a curbless bath, but only if the plane is accurate enough to support it.
What makes a curbless shower fail?
A curbless shower fails when the drain choice, slope, and waterproofing are treated as separate decisions. That’s the short version, and it explains most leaks, puddles, and awkward entries.
One trade frames the room, another sets the drain, and a third tiles over whatever is there. That is how curbless projects go wrong. The floor is one system, so the details have to agree before anyone starts finishing work.
One system.
The most common failure points are easy to name:
- Drain placed too late: the slope becomes forced instead of planned.
- No room for recess: the entry ends up too high or too steep.
- Wrong waterproofing pairing: membrane and drain don’t match.
- Flat spots in the floor: water collects where the planes meet.
- Tile layout ignored: cuts and joints expose bad slope choices.
There’s also the design failure nobody wants to talk about: a curbless shower that looks elegant in renderings but doesn’t respect the room size. If the bathroom is too shallow, a true flush entry may require compromises the homeowner doesn’t want. In that case, a low curb or a different drain strategy may be the more honest solution.
This is where a lot of generic advice goes wrong. It treats curbless as a style choice. It isn’t just that. It’s a floor engineering problem with a visual finish on top.
When should you choose another layout instead?
You should choose another layout when the room is too shallow, the framing won’t allow a recessed floor, or the tile format and drain location can’t support a clean slope without making the entrance awkward. In those cases, a low curb or a different wet-room layout is often the smarter move.
You want the flush look, but the room dimension leaves no room for a proper fall. If you force curbless anyway, the transition can get uncomfortable, or the floor can drain badly. That is not a design win.
Wrong fit.
A curbless shower is a poor choice when:
- The joists can’t be altered and the floor can’t be lowered.
- The room is so tight that the drain would sit in the wrong place.
- The tile selection demands a flatter, simpler substrate than the floor can provide.
- The project needs the lowest possible risk rather than the cleanest visual line.
On the flip side, curbless is a strong choice when the plan is built from the framing stage, the drain type matches the layout, and the waterproofing detail is specified before anyone starts finishing. That’s when the design starts paying off.
The verdict is simple: don’t force a curbless build into a room that can’t support the slope. A beautiful floor that drains badly is still a bad floor.
Exception scenarios: when the usual advice flips
The usual advice flips when the room shape, drain choice, or tile size changes the job more than the style goal does. These are the cases where a point drain can beat a linear drain, or where a low curb beats a fully flush entry.
You read that linear drains are the best answer, but your bathroom is narrow, shallow, or already framed. Now the “best” choice may no longer be the right one.
Context matters.
- Small footprint, simple layout: A point drain can be the better fit when the wet area is compact and the floor can be built with clean four-way slope.
- Retrofit with limited carpentry access: A low curb may beat a true curbless floor when the subfloor can’t be lowered without major structural work.
- Large-format tile with strict visual goals: A linear drain often wins because it reduces complex plane changes that large tile makes obvious.
- Mixed-use bathroom with heavy splash risk: A different wet-room layout may work better if the door, glass, and drain line all need tighter control than a flush entry can provide.
This is not a one-rule category. The drain and slope should follow the room, not the other way around. If the room pushes back, the design needs to change.
What do I tell a homeowner before they build one?
I tell them to start with the drain location, the floor recess, and the waterproofing system in that order. If those three don’t fit the room, the curbless idea needs revision before tile day.
You’re about to spend money on tile, glass, and trim, but the part you’ll never see again is the part that decides whether the floor works. That hidden layer is where curbless projects are won or lost.
Hidden layers.
The planning sequence is:
- Confirm how much recess the structure allows.
- Pick the drain type that suits the room depth.
- Match the waterproofing system to that drain.
- Lay out tile after the slope plan is fixed.
- Check the transition before finish materials are ordered.
That order keeps the project grounded in geometry, not wishful thinking. It also helps avoid the common trap of picking a drain for its appearance, then trying to make the slope work around it. That almost always costs more time and creates more compromises.
What the standards and references actually cover
The Tile Council of North America Handbook and the ANSI tile standards are the most useful references for shower receptor details, materials, and installation methods. Manufacturer instructions still matter most for the drain itself, because the drain and membrane system have to be compatible.
You want one answer from the internet, but the right answer lives in a standard, a product sheet, and the room dimensions. That’s why curbless work is rarely solved by a single article or a single diagram.
Read the system.
Two references worth knowing are the Tile Council of North America and ANSI’s tile installation standards, which are commonly used in wet-area work. For drainage details, always follow the specific drain manufacturer’s instructions, because bonding flange, clamping ring, and liquid-applied details are not interchangeable.
- TCNA Handbook: shower receptor and waterproofing reference.
- ANSI A108/A118/A136: tile and installation material standards.
- Manufacturer instructions: the exact drain and membrane method.
- Local code: any rules that affect accessibility, drainage, or waterproofing.
A curbless shower looks simple because the finished floor is clean. Underneath, it’s one of the more exacting floor assemblies in a home. That’s the real story, and it’s why the slope question deserves more than a one-line answer.
FAQ
Can a curbless shower be completely flat?
No, it can’t be completely flat if you want it to drain properly. The floor still needs a controlled slope, usually around 1/4 inch per foot, so water moves to the drain instead of staying on the surface.
Is a linear drain always better than a point drain?
No, but it is often easier to use in a curbless layout. A linear drain usually simplifies the slope because the floor can pitch in one direction, while a point drain needs four-way slope and more careful tile layout.
What happens if the slope is too small?
Water can sit on the floor, grout can stay wet longer, and the room may start to show staining or mildew in low spots. A slope that is too small also makes the drain less effective after normal use.
Can a curbless shower be added to any bathroom?
No, not every bathroom can support one without structural changes. The floor depth, joist layout, drain location, and waterproofing plan all have to work together, and some rooms simply don’t leave enough room for a proper slope.
What is the biggest mistake people make?
The biggest mistake is treating the drain as an afterthought. If the drain is chosen late, the slope and threshold usually get compromised, and that is where curbless builds start failing.
Drafted with AI; not yet reviewed by a person.




2 thoughts on “Curbless Shower Drainage and Slope Guide”