How to Set Rough-In Drain Height for a Curbless Shower
For a curbless shower, set the rough-in drain height from the finished floor build-up, not from the pipe alone. The rough-in target usually starts with…
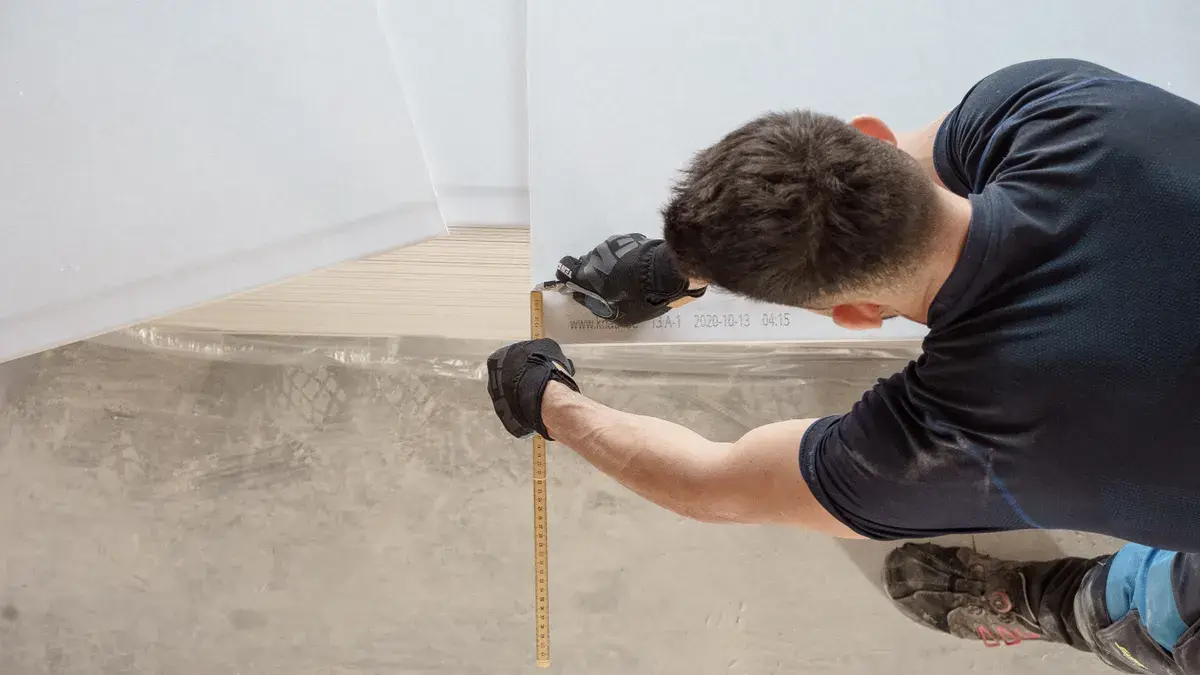
Person measuring floor height with a tape measure
Last updated: November 12, 2026
Quick Answer: For a curbless shower, set the rough-in drain height from the finished floor build-up, not from the pipe alone. The rough-in target usually starts with the tile, thinset, waterproofing, and drain body height. This article covers how to set rough-in drain height for a curbless shower with a 2-inch PVC waste line and the drain assembly called for by the manufacturer.
The steps below settle that height, the pipe stub-up, and the collar adjustment before the mud goes in.
Key Takeaways
- The drain height starts with the finished floor thickness, not the slab or subfloor alone.
- For a curbless shower, the rough-in has to match the tile thickness, mortar bed thickness, and drain flange height at the same time.
- A 2-inch PVC waste line needs enough vertical stub-up to connect cleanly without forcing the trap or collar out of alignment.
- Linear drains usually give more adjustment through the threaded collar than a point drain, but the body still has to sit in the right place first.
- If the rough-in is off by even a little, the finished drain can end up proud of the tile or buried too low.
Set the rough-in from the finished floor, not the pipe stub
Picture this: you’ve got the subfloor open, the drain line is roughed in, and now you need the one number that keeps the shower from turning into a redo. That number is the finished drain elevation, and it starts with the floor build-up, not the pipe sticking out of the floor.
A practical way to think about rough-in drain height is to keep the pipe stub-up low enough for the trap and fitting, but high enough for a clean drain connection. In a curbless shower, the finished tile often sits flush with the bathroom floor, so the drain height has less room to hide error than a standard shower with a curb.
Start with the finished floor stack: tile, thinset, waterproofing system, and the mud bed thickness allowance around the drain. Then work backward to the pipe. The drain body must sit where the flange height can be buried or exposed exactly as the product calls for. If you guess here, the shower pan will tell on you later.
A curbless shower also needs the drain position to cooperate with the floor assembly outside the shower. That is why the rough-in height belongs in the same conversation as the slope, the tile thickness, and the drain type. This page supports the broader curbless shower slope and drainage guide, but this article stays on the rough plumbing elevation.
- Measure the total finished floor build-up at the drain location.
- Add the drain body height called for by the manufacturer.
- Confirm where the flange lands relative to the finished tile plane.
- Set the pipe stub-up so the trap and coupling can connect without forcing the drain body.
- Dry-fit the assembly before any concrete or mud is placed.
That sequence keeps the rough-in tied to the finish, which is the point. Not the pipe. Not the hole.
How high should the drain pipe stick out for a curbless shower?
The drain pipe should stick out only as much as the trap and drain assembly need for a clean connection, because the finished height comes from the drain body and floor build-up, not from extra pipe length. For a 2-inch PVC waste line, the stub-up is usually kept short enough that the drain fitting can be set true and the collar can still adjust.
A long stub-up can trap you into cutting it back after the rest of the system is already aligned. A short stub-up can leave you without enough engagement for the fitting or trap connection. In either case, the cost is the same — extra labor and a floor that has to be reopened.
The drain body usually determines the exact rough-in target. A point drain with a fixed body has less forgiveness than a linear drain with a threaded collar or adjustable frame. If the product uses a clamping flange, the rough-in has to account for where the finished membrane and tile meet that flange. If the product uses an adjustable linear drain, the collar can help fine-tune the final height, but it does not rescue a bad rough-in.
Use the manufacturer’s setting range and the planned floor thickness together. A shallow mud bed, a thicker setting bed, or a drain body with a tall flange will each change the number you’re aiming for. This is why one rough-in height from a generic blog is usually wrong.
What usually goes wrong:
- The pipe is left too high, so the drain body sits proud of the floor.
- The pipe is cut too short, so the connection has to be forced or rebuilt.
- The floor assembly is planned after the plumbing, which flips the order and causes mismatch.
- The trap location is set without enough room for the drain body and collar.
A good rough-in leaves room to connect, adjust, and still hit the finished plane. That’s the target.
Match the drain body to the mud bed thickness allowance
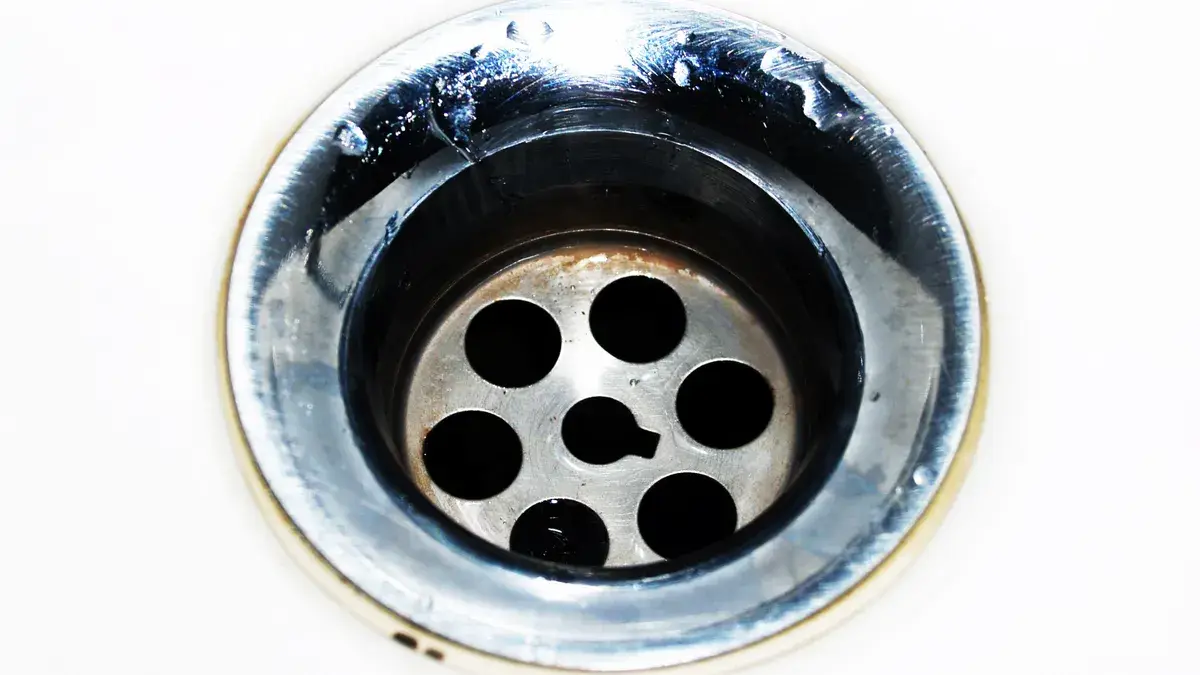
The drain body should match the planned mud bed thickness allowance so the drain flange sits at the right finished elevation. In a curbless shower, the mud bed is not just filler; it is the piece that lets the drain meet the tile and the slope without a step.
Picture this: the plumber has the drain line in place, and the tile setter is expecting a flush finish at the bathroom floor. If the mud bed around the drain is too thin, the drain can sit too low and create a weak spot around the flange. If the bed is too thick, the finished drain can rise above the tile and create a lip you can feel underfoot.
The goal is to land the drain body where the finished tile and waterproofing system meet it cleanly. The drain flange height matters here because different drain systems are built for different layers. Some linear drains accept a deeper setting pocket. Some point drains expect the body to be set so the grate ends up just above the tile plane. The rough-in has to support that geometry.
This is also where many generic instructions fail. They tell you to “leave room for tile,” but tile alone is not the full build-up. You need the tile, the bond coat, the membrane, the mud bed, and the drain’s own body height. Leave any one of those out, and the rough-in number lies.
Use a dry layout when possible. Stack the tile, mock the drain flange, and measure the assembly from the subfloor or slab to the finished top surface. That gives you a better target than guessing from memory. If the product data sheet lists an installation range, use that range rather than a round number from someone else’s bathroom.
How do you adjust height on a linear drain?
You adjust a linear drain height with its threaded collar, frame, or adjustable support feet, but only within the manufacturer’s range. That adjustment fine-tunes the finished grate position; it does not replace a proper rough-in.
Linear drains are more forgiving than many point drains because the drain body and grate system often allow vertical adjustment. The collar can raise or lower the grate so it finishes flush with the tile. That helps in a curbless shower where the floor has to read as one continuous surface. Still, the drain box or channel has to start in the right place relative to the pipe and subfloor.
The adjustment works best when the rough-in sets the drain body near final height before the floor mud goes in. If the body is too low, the collar may not have enough travel. If it’s too high, the grate can become proud of the tile. Either way, the floor telegraphs the mistake.
Use the drain manufacturer’s setting instructions, not a universal rule. Some linear drains want the channel body centered on the outlet. Others allow the waste connection to drop below the channel through a factory outlet. The important thing is that the flange height, the collar setting, and the finished tile plane all line up.
Good signs you’re close:
- The grate can be set flush without packing extra mortar under one end.
- The drain body sits stable before the mud bed is placed.
- The collar still has visible adjustment left after dry-fit.
- The membrane can wrap or terminate exactly where the drain system expects it.
If you run out of adjustment before the floor is finished, the rough-in was wrong. That’s not a tile problem.
Subfloor drain connection depth and trap clearance
The subfloor drain connection depth should leave enough room for the trap, the coupling, and the drain body without crowding the framing below. In a curbless shower, the floor assembly is often thinner than a traditional shower, so the space below the subfloor matters just as much as the finish above it.
Picture this: you’re under the floor looking up at the stub-out, and the trap needs to line up with a drain body that has very little vertical forgiveness. That’s where connection depth decides whether the rough-in is clean or a headache. If the outlet is too shallow, the fittings fight each other. If it’s too deep, the drain body may sit lower than the finished floor can tolerate.
The practical target is enough depth for proper engagement of the 2-inch PVC waste line, the trap arm, and the drain connection specified by the fixture. You also need enough room for any trap primer connection if the system uses one. A trap primer adds another branch and another place where crowding can turn into a bad angle.
This is not the place to eyeball it. Dry-fit the trap and drain body before closing the floor. Check that the outlet sits centered, the pipe slopes correctly toward the waste line, and the connection can be glued or sealed without stress. The drain should not hang from the pipe, and the pipe should not have to twist to meet the drain.
A bad connection depth can cost you more than time. It can force a rebuild of the subfloor opening, a change in trap location, or a drain body that ends up out of plane with the finished tile. In a curbless shower, that shows up fast.
For code and product guidance, check the International Plumbing Code and the drain manufacturer’s installation sheet before you set the opening.
Common rough-in mistakes that throw off the finished drain height
The most common rough-in mistake is setting the drain height before the floor build-up is known, and that mistake usually costs you a cutoff pipe, a shimmed drain, or a raised grate. The better move is to set the pipe only after the final tile and drain assembly are mapped.
Here are the errors that show up most often on curbless work:
-
Using the slab or subfloor as the finish reference.
That ignores tile, mortar, waterproofing, and the drain body itself. The result is a drain that lands too low or too high. -
Leaving the stub-up long “just in case.”
A tall stub can force the drain body out of line. You end up trimming in a cramped space instead of setting cleanly from the start. -
Ignoring the drain type.
A linear drain with a threaded collar is not the same as a fixed point drain. The rough-in target changes with the product. -
Skipping the dry fit.
Without a mock-up, you won’t catch a flange height problem until the mortar is already in place. -
Forgetting trap primer or branch clearance.
Extra fittings steal vertical room. That can wreck the final drain elevation in a low-profile floor.
Rough-in height problems are usually layout problems, not plumbing mysteries. The cure is a taped-out floor plan, a manufacturer spec sheet, and a dry fit that proves the drain body will land where the finished shower needs it. If the layout is unclear, consult a licensed plumber and the product instructions before the drain is set.
If the drain rough-in is part of a bigger curbless layout, the hub article on curbless shower slope and drainage is the next stop. This page is about the height setpoint; that one covers the larger drainage system.
A practical setting order that keeps the shower flush
The rough-in height should be set in this order: finished floor build-up, drain body height, pipe stub-up, then final collar adjustment. That order keeps the plumbing tied to the finish instead of forcing the finish to adapt to the plumbing.
-
Map the finish first.
Measure the tile thickness, thinset, membrane, and mud bed allowance at the drain location. Write the stack down. A missing layer is how bad elevations happen. -
Check the drain spec.
Read the installation range for the linear drain or point drain. Look for the minimum and maximum flange height, the outlet depth, and the collar travel. -
Set the pipe for connection, not final appearance.
Leave enough pipe to connect the trap and drain body cleanly, but not so much that the drain sits forced upward. The pipe is the joint, not the finish. -
Dry-fit the whole assembly.
Assemble the drain, collar, and coupling on the subfloor or slab. Confirm the finished grate or flange lands where the tile plane will be. -
Lock the rough-in before mud work begins.
Once the elevation is right, keep it. Do not let the mud bed “fix” a bad setting unless the product instructions allow it. -
Recheck after framing and before waterproofing.
Floor work shifts. A second check catches a pipe that moved or a drain body that settled.
That sequence is boring in a good way. Boring means the shower finishes flat, the drain sits flush, and nobody has to chase a half-inch problem after the floor is set.
How high should the drain pipe stick out for a curbless shower?
The drain pipe should stick out only enough to make a proper connection to the trap and drain body, because the finished height comes from the drain assembly and floor build-up. For a 2-inch PVC waste line, that usually means a short stub-up, then a dry-fit to confirm the collar and flange land correctly. The exact height comes from the drain manufacturer’s range and the planned mud bed thickness.
How do you adjust height on a linear drain?
You adjust a linear drain height with the threaded collar, frame, or support system built into that drain model. The collar fine-tunes the finished grate so it sits flush with the tile, but the rough-in still has to place the drain body near final elevation first. If the body is too far off, the collar won’t fix it.
Drafted with AI; not yet reviewed by a person.




4 thoughts on “How to Set Rough-In Drain Height for a Curbless Shower”