Where to Install Controls and Handheld Sprayers in a Roll-In Shower
Place the controls within a seated reach zone of about 38 to 48 inches above the floor, then mount the handheld sprayer on an ADA slide bar within the…
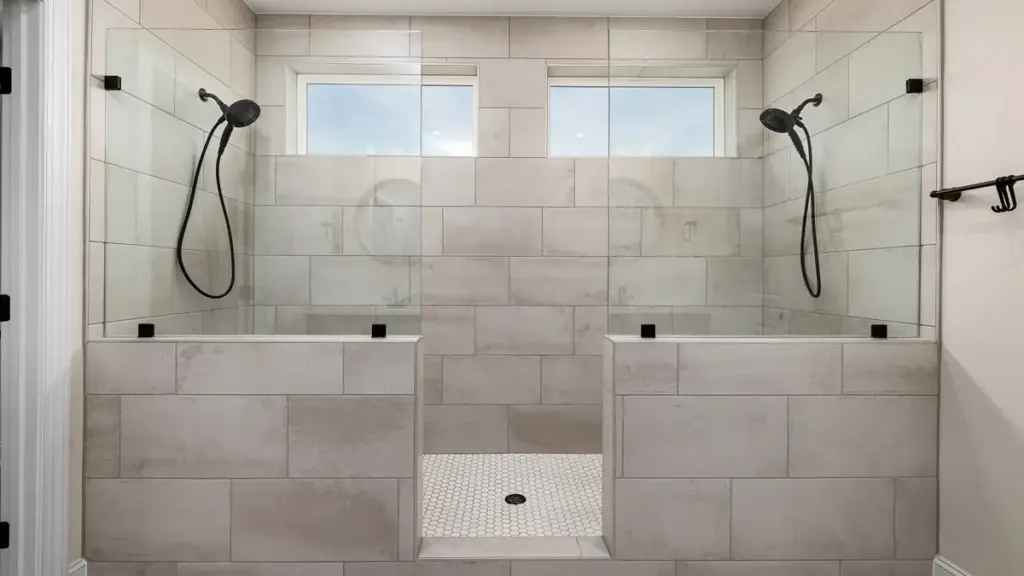
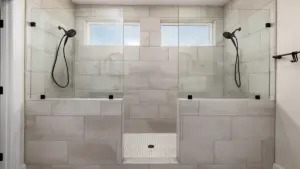
Walk-in shower with two handheld shower sprayers
Last updated: November 14, 2026
Quick Answer: place the controls within a seated reach zone of about 38 to 48 inches above the floor, then mount the handheld sprayer on an ADA slide bar within the same seated reach path. Accessible shower controls should go on the back wall within reach of the seat, and the handheld sprayer should park on a slide bar where a seated person can grab it without crossing through the hot spray. The safe rule is simple: keep the controls reachable from the bench and keep the wand docked beside the seated user, not across the stream. The details below settle height, reach, and placement for Where to install controls and handheld sprayers in a roll-in shower.
Key Takeaways
- Keep controls within seated reach on the back wall or another reachable wall.
- Mount the handheld wand on an ADA slide bar so the seated user can grab and dock it.
- Install the bench first, then controls, then the slide bar, then trim and showerhead parts.
- The biggest mistake is placing controls for a standing user and ignoring seated access.
Accessible shower controls: the reach and height that work
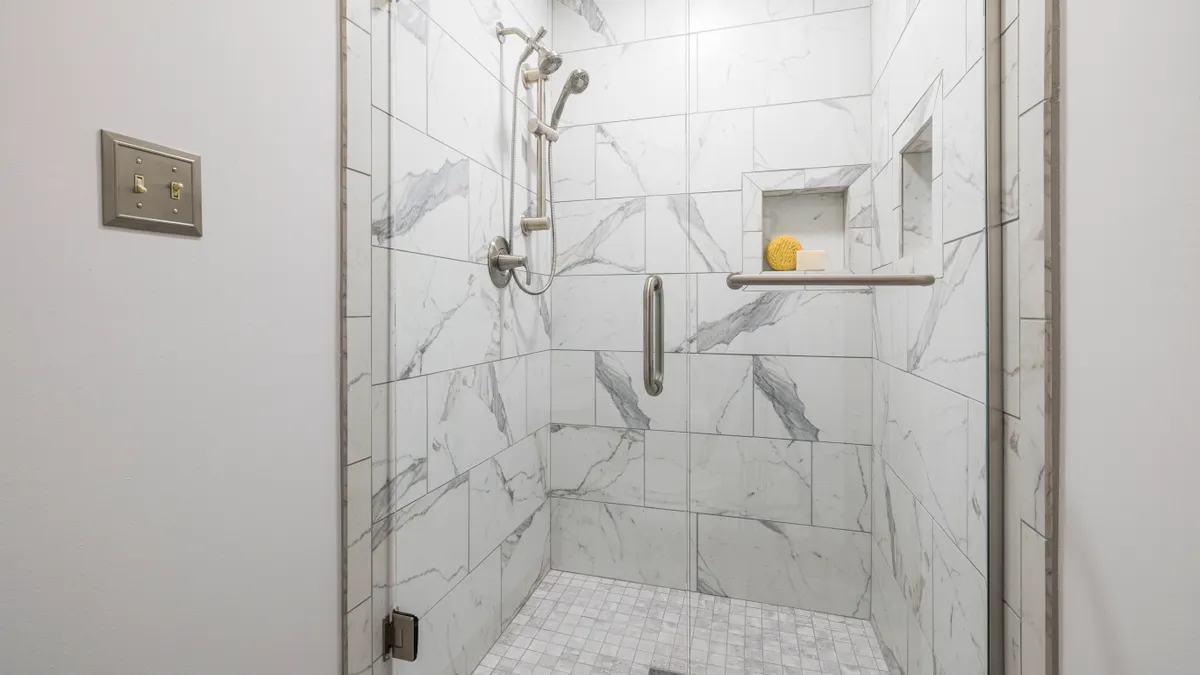
Accessible shower controls belong on the back wall or another wall that a seated user can reach without leaning through the water path. For a roll-in shower with a bench, the common mistake is putting the valve where a standing person likes it, then asking a seated user to twist sideways or stretch across the spray. That is a setup problem, not a user problem.
The ADA Standards for Accessible Design and the Access Board’s bathing-room guidance both point to reachable controls and usable transfer space, not to a fixed “one perfect spot” for every layout. The key is the thermostatic mixing valve or control set, the diverter, and the handheld wand all having a clear line of use from the seat. See the ADA Standards for Accessible Design on the U.S. ADA site and the Access Board’s Chapter 6 bathing rooms guide for the broader accessibility framework.
A good layout starts with the seat position, then works outward:
- Controls land where a seated hand can reach them from the bench edge.
- The wand dock lands within easy grab range from the same seated spot.
- The hose has enough slack to lift the wand, rinse, and return it without tugging on the valve.
A common field rule is to keep the control face about 38 to 48 inches above the floor when the design follows typical accessible ranges, but the exact mounting point has to match the bench, the wall layout, and the code path being used. The point is not the number by itself. The point is reach from the seat without a body twist that defeats the bench.
Figure to keep in mind: if the user must lean more than a forearm’s length across the spray to turn water on, the control is too far away.
Where should the valve go relative to the seat?
The valve should go on the wall that lets the seated user turn the water on before the spray hits the body, usually on the back wall or an adjacent wall within arm’s reach of the bench. That placement keeps the first touch safe and stops the user from entering a blast of cold water just to start the shower. This is the part that gets done wrong most often.
Picture this: you are seated on the bench, one foot braced on the floor, and your hand is reaching for a handle without having to cross the water stream. That is the test. If the hand has to travel through the spray path, the valve is in the wrong place even if the height looks fine on paper.
The practical placement logic is simple:
- Sit on the bench in the planned location.
- Mark the reach zone of the stronger hand.
- Put the thermostatic mixing valve and temperature control inside that zone.
- Keep the valve far enough from the spray head that turning it on does not soak the user before control is possible.
A diverter with a separate control should sit close to the main valve, not stretched to another wall. A diverter valve reach ADA issue is really a reach issue first and a code issue second. If the user has to pivot hard at the waist to switch from fixed head to handheld, the design is fighting the seated position.
Here’s the catch: do not let tile layout or niche symmetry move the control to a prettier but less usable spot. A control centered for looks can be wrong for a bench user.
- Put the valve where the seated hand can find it first.
- Keep the handle easy to grip with wet fingers.
- Avoid placing it behind the user’s shoulder line.
- Keep the diverter close enough that one hand can manage both functions.
How high should the handheld sprayer mount be?
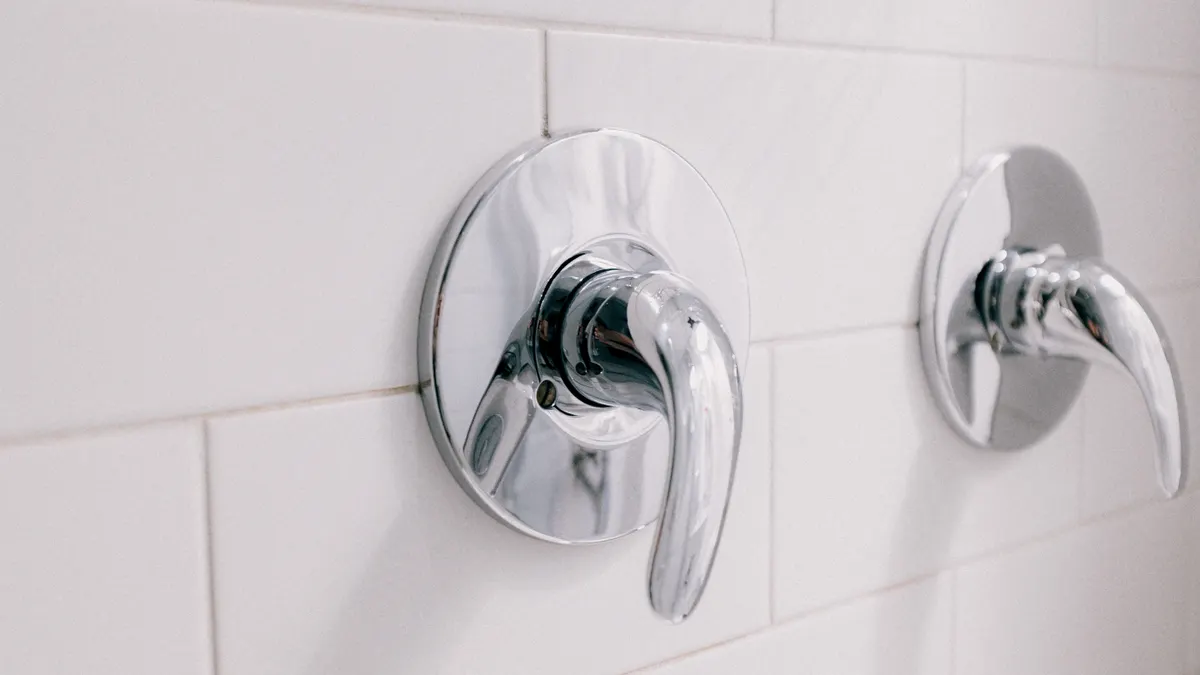
The handheld sprayer should mount on an ada slide bar at a height that lets the user dock, grab, and rinse from the seat without overreaching. The right height depends on the bench height, but the general rule is to set the slide bar so the wand can be held low for seated use and raised for standing use without removing it from the holder. That gives one fixture two jobs.
Picture this: you are on the bench and need the wand for a lower-leg rinse. If the dock is too high, you have to reach up and then bring the hose down across the body. If it is too low, a standing user may have to stoop. The sweet spot is the overlap zone.
A solid installation plan treats the slide bar as both storage and positioning hardware:
- The lower end must still be reachable from the bench.
- The upper end should not force a shoulder lift just to dock the wand.
- The hose should hang freely without pulling the wand out of the bracket.
Because product instructions vary, consult a licensed installer or the manufacturer’s rough-in sheet before finalizing the bar height. The Access Board bathing-room guide and the ADA Standards are the safe starting points, but local code and the specific slide bar model still govern the final mount.
A flexible metal hose helps because it resists kinking better than a stiff plastic line and usually gives a cleaner fall when the wand is parked. It can also be harder to wipe dry, and it may slap against tile if it is too long for the space. That is why length matters as much as the bracket height.
The safe placement test is easy: from the bench, can the user take the wand out, spray the lower body, and return it without standing or twisting hard? If not, the slide bar is too far away or too high.
Do this instead
- Set the bar where the wand can be grabbed from the bench.
- Keep the hose long enough for use, but not so long that it drapes across the floor.
- Choose a holder that keeps the wand stable when docked.
- Confirm that the spray path does not hit the control when the wand is parked.
The installation order that avoids a bad layout
The installation order should start with the bench, then the controls, then the slide bar, and only then the trim and final showerhead parts. If the tile goes in first and the hardware comes later, the installer is forced to chase the finish instead of the user’s reach. That is how layouts get ruined.
Picture this: the wall is open, the bench location is fixed, and the plumber can still move the rough-in slightly before the finish goes up. That is the moment to solve the problem. Once tile is set, every correction costs more and may force a patch.
Use this sequence:
- Set the bench location and confirm the seated user’s shoulder and hand reach.
- Mark the valve centerline and the diverter reach zone from the bench.
- Mark the slide bar so the wand can be docked and grabbed from the same seated position.
- Check hose slack, handle clearance, and the spray path before wall finish goes on.
- Finalize trim only after the user flow makes sense in real space.
Therefore, this order also exposes conflicts with other hardware early. A valve that looks fine on a drawing can end up fighting a grab bar, a niche, or a fold-down seat. A small change before tile is usually cheaper than a finished-wall repair, but the exact cost depends on the room.
A note on standards: the Access Board’s bathing room guidance and the ADA Standards are the right starting points for the accessibility framework. They do not replace local code or the exact product instructions, so a final layout still has to respect the manufacturer’s rough-in and the local inspector’s rules.
Common mistakes that make a roll-in shower hard to use
The worst mistake is putting the controls where a standing user would expect them and ignoring the seated user’s route. That costs reach, control, and safety all at once. Another common error is mounting the handheld so high that the wand becomes a shoulder exercise instead of a bathing tool.
Picture this: the user is seated, the water is running, and the wand is docked on the far wall. Now every adjustment means stretching across wet tile and hot spray. That is not an accessibility feature. It is a daily frustration.
The most common failures are:
- Controls too far away: the user must lean or rotate hard. The cost is lost balance and poor independence.
- Slide bar too high: the wand becomes hard to reach from the bench. The cost is extra movement for every use.
- Hose too short: the wand cannot cover the lower legs or feet from the seat. The cost is a shower that looks accessible but behaves like a fixed head.
- Diverter placed separately: the user needs two reaches for one water change. The cost is strain and confusion.
There is a second problem that gets missed: a wand docked too close to the control can send spray onto the valve handle when the wand is returned. That makes the controls slippery and can shorten the useful life of some trim finishes. Put a little space between the two.
What to do instead
- Keep the control zone and wand zone close, but not stacked on top of each other.
- Think in seated reach, not standing habit.
- Mock up the layout with tape before tile.
- Recheck the hose path after the trim is installed.
How do you check the layout before tile goes up?
You check it by sitting in the planned position and trying to reach every part with one hand before the wall is finished. That dry-run is a fast way to catch a bad control height or a weak wand position. It takes minutes and can save a full rework.
Picture this: the rough plumbing is open and the bench is in place, but the tile is not set yet. You can still change the control rough-in by a few inches, shift the slide bar, or move the diverter closer to the valve. That small window matters.
Use this quick layout check:
- Sit on the bench at the planned height.
- Reach for the valve handle without standing.
- Turn the control with one hand while staying centered.
- Reach for the wand dock and remove the wand with the other hand.
- Return the wand without crossing the spray path.
If any of those steps feel awkward, the layout needs a change. The truth is, awkward in the mock-up becomes annoying every day after the install.
For the broader room dimensions and floor layout, the hub article on ADA curbless shower dimensions and design is the better place to check bench size, clear floor space, and entry geometry. This page stays with the controls and handheld sprayer placement so the hardware works with the room, not against it.
A simple placement rule that holds up in the field
The best rule is to place the control where a seated user can reach it first and the handheld where that same user can dock and grab it without crossing the spray. That means the valve, diverter, slide bar, and hose all work as one system. If one piece is out of reach, the whole setup suffers.
Picture this: one hand starts the water, the other reaches the wand, and the user never has to twist hard or chase the spray. That is what a roll-in shower should feel like.
Use this final filter:
- Can the seated user start water without leaning through the stream?
- Can the same user change temperature or switch to the wand with one hand?
- Can the wand be parked and removed without a second awkward reach?
- Does the hose hang naturally, without dragging or pulling?
If the answer is yes to all four, the placement is probably right. If not, move the hardware before the wall is closed.
What is the maximum reach distance for an ADA shower valve?
The maximum reach distance for an ADA shower valve depends on the full layout, not just one number. The safer way to judge it is whether a seated user can reach the control from the bench without leaning across the spray or shifting out of position. The ADA Standards and Access Board guidance frame the issue as usable reach and operable parts, so the bench location matters as much as the valve height.
Can a slide bar be used as a grab bar in an accessible shower?
A slide bar should not be assumed to work as a grab bar unless the product is made and installed for that purpose. The load path, mounting, and grip shape are different. A regular wand bar can help with positioning the handheld, but a true grab bar needs proper structural backing and the right diameter for a firm hold.
Where should the handheld shower wand be placed relative to the seat?
The handheld wand should be placed within easy seated reach of the bench, close enough that the user can take it down and return it without standing or leaning across the water stream. The best location is usually on the same wall zone as the controls, with the hose long enough to rinse the lower body from the seat.
Drafted with AI; not yet reviewed by a person.



1 thought on “Where to Install Controls and Handheld Sprayers in a Roll-In Shower”