How to Install a Curbless Shower on an Existing Concrete Slab
A curbless shower on an existing concrete slab usually means recessing the slab where the shower goes, then rebuilding the floor so the drain ends up low…
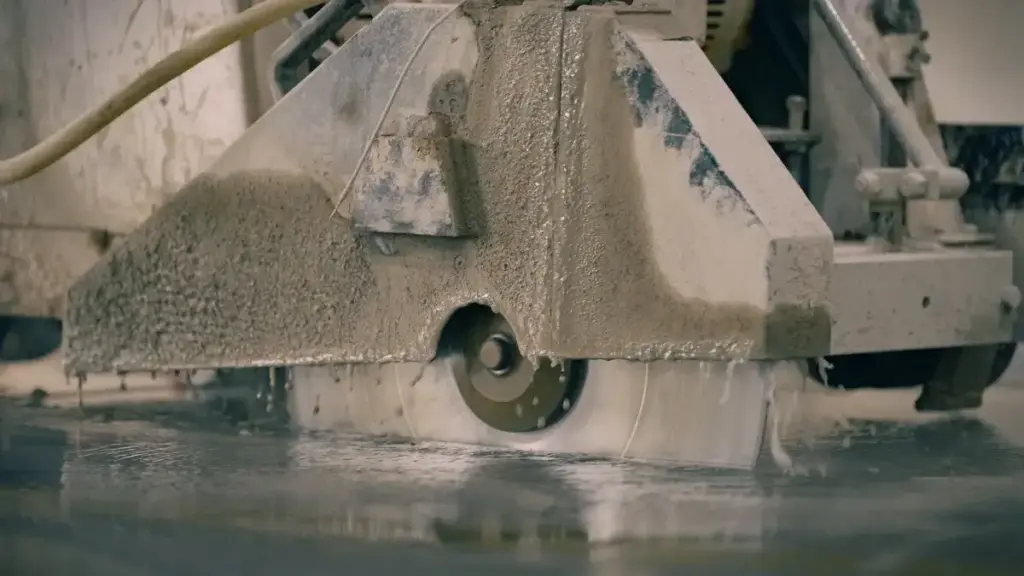
Concrete saw cutting a slab with water spray
Last updated: November 13, 2026
Key Takeaways
- Start by recessing the slab enough for the drain, then rebuild the shower base and waterproofing.
- Mark the recess, cut the perimeter, remove the slab, repair the edges, and rebuild the pan at the right height.
- The right answer depends on space, drain routing, and whether the bathroom floor can stay comfortable.
- Use a cutting tool, a breaking tool, patch materials, and a waterproofing plan that fits the new floor height.
A curbless shower on an existing concrete slab usually means recessing the slab where the shower goes, then rebuilding the floor so the drain ends up low enough for a zero threshold. This article explains how to install a curbless shower on an existing concrete slab without changing the rest of the bathroom more than necessary. In many homes, the key decision is whether the slab can be recessed enough for the shower drain, mortar bed, and slope.
What has to happen before the drain can sit low enough
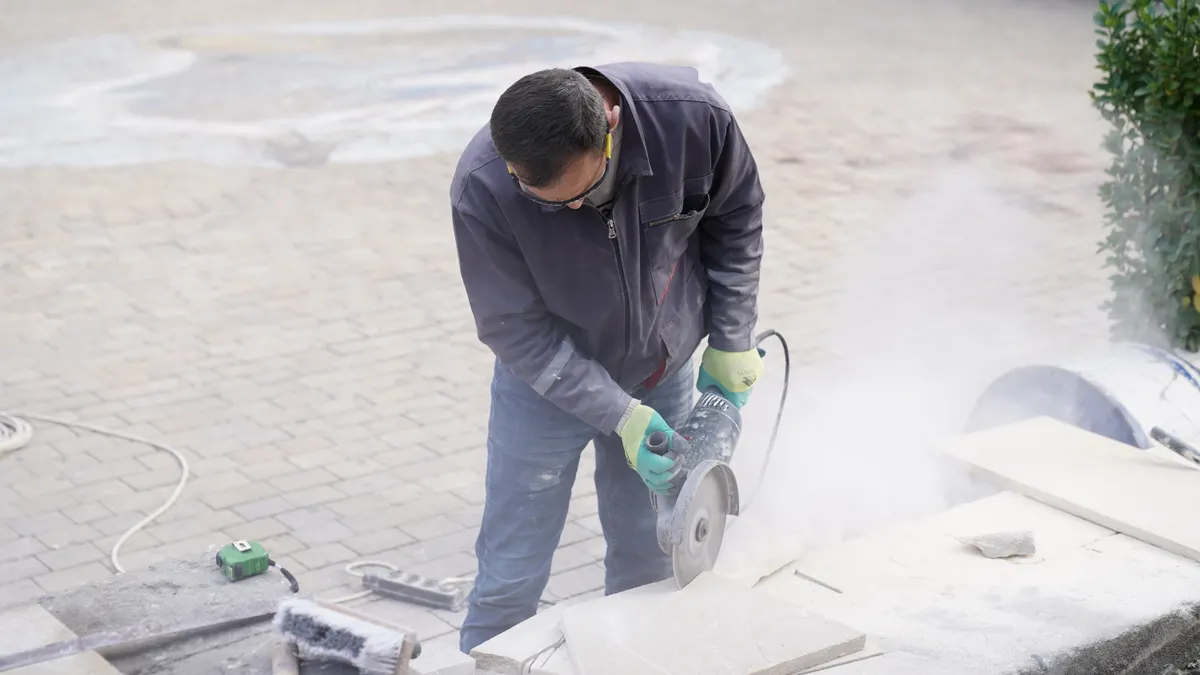
Because the drain has to sit low enough, the work starts by creating vertical room, usually with concrete slab recessing, then rebuilding the shower base around the drain and waterproofing.
Here’s the catch: on an existing slab, the floor structure is fixed. If you need a true curbless entry, you do not “just slope the tile.” You need enough depth for the shower drain, the mortar bed, and the slope to the drain—often while keeping the main bathroom floor close to its current height.
A typical plan uses these parts:
- a diamond blade concrete saw to cut the outline
- a rotary hammer to break and remove the slab inside that outline
- a bonding primer if the repair or patch system calls for one
- hydraulic cement or another approved patch material for edges and fills
- a vapor barrier if the floor assembly needs it for the chosen waterproofing method
Before any cutting, confirm where plumbing runs and whether the slab is post-tension. If the slab is post-tension, cutting can be dangerous and may be prohibited by the structural design. That question belongs in the planning stage, not after the saw is on the floor. For slab safety and repair details, see the concrete slab preparation guide, the curbless shower subfloor preparation hub, and the shower waterproofing overview.
How to install a curbless shower on an existing concrete slab
Because the recess has to be built first, the core sequence is to mark the recess, cut the perimeter, remove the slab, repair the edges, and rebuild the pan at the right height.
- Mark the recess footprint using the shower size, drain location, and the slope you need for the finished surface. A common mistake is marking only the shower footprint and forgetting the transition zone outside it.
- Cut the perimeter with a diamond blade concrete saw so the break line stays controlled. The cut gives the rotary hammer a clean edge and reduces cracking beyond the intended area.
- Break out the slab with a rotary hammer and remove the concrete down to the needed depth. Stop before you damage pipes, tubing, or reinforcement.
- Clean and inspect the recess for cracks, loose material, and moisture issues. If the slab edge is friable, patch it with hydraulic cement or a repair mortar approved for the shower assembly.
- Prime if the repair system requires it. Some patch materials need bonding primer so the new material sticks to the old slab instead of debonding later.
- Set the drain assembly at the new elevation and confirm the pan can still slope to it without creating a step at the entry.
- Build the shower base and waterproofing system according to the chosen drain and membrane method. The finish floor usually needs a continuous slope toward the drain, not a flat spot at the entry.
- Test the transition height before tile goes down. If the bathroom floor outside the shower still sits too high, a small ramp or a broader floor plane adjustment may be needed.
Once the recess is correct, the rest of the build becomes normal tile-and-waterproofing work, not guesswork. For drain-setting and waterproofing sequencing, the shower waterproofing page and curbless shower subfloor preparation guide add the next step.
Should you chip the slab, trench it, or ramp the bathroom floor?
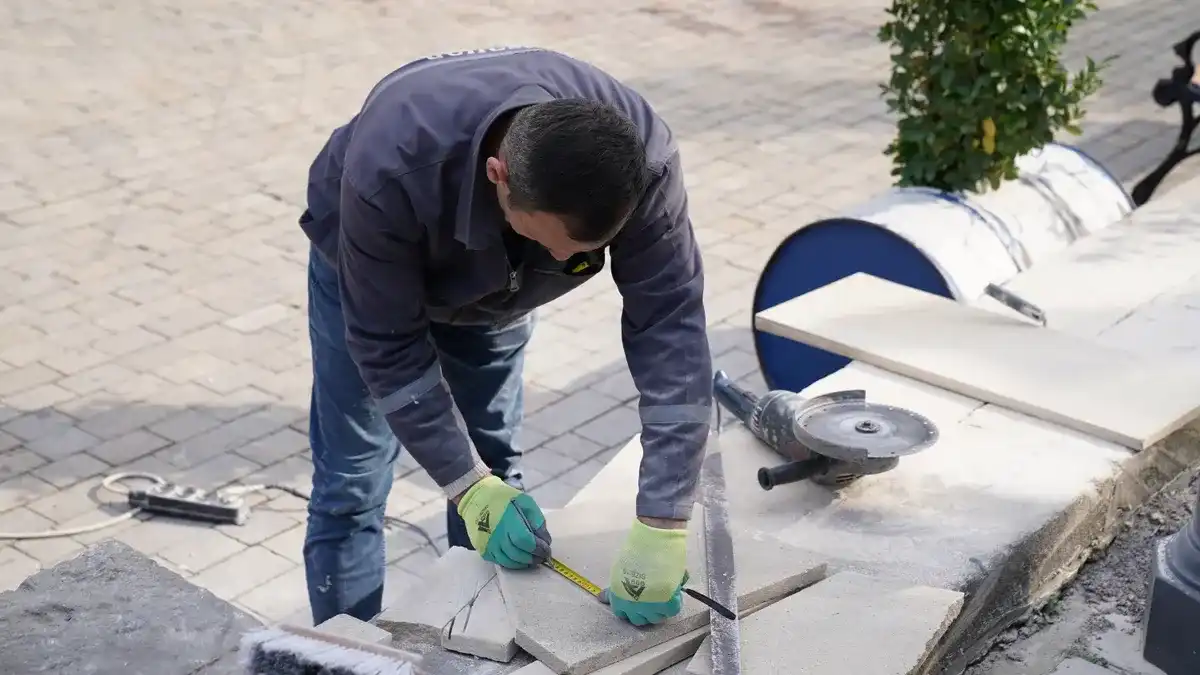
Because the recess may not be the same everywhere, the right answer depends on how much space you need, how the drain lines run, and whether you can lower the shower area without making the bathroom feel awkward.
Chipping the slab is the simplest approach when the shower footprint is clear and the drain can move into the recess. It keeps the work localized, but it can be messy and may expose weak slab edges if the concrete is thin or cracked.
Trenching the slab makes sense when you need a path for plumbing or a drain line to travel through the recess. That trench still has to be repaired correctly, and it can create more structural and waterproofing complexity than a simple pocket cut.
Ramping up the bathroom floor is the fallback when the slab cannot be recessed enough. This means raising the outside floor plane so the shower entry can stay level with the rest of the room. It saves cutting, but it changes the whole bathroom height and can make door clearances, toilet flange height, and vanity bases harder to manage.
Common trade-offs:
- Recessing the slab gives the cleanest curbless look.
- Ramping the floor avoids deeper concrete removal.
- Trenching helps with drain routing but adds repair work.
- The more you cut, the more you need to check structure and plumbing.
If the room has a tight doorway or a fixed hallway transition, a full ramp-up may be the wrong fit. If the slab is thick enough and the plumbing layout cooperates, recessing the shower area is usually the cleaner solution.
What tools and materials matter most on this kind of slab work?
Because the cut and repair sequence drives the whole job, the essentials are a cutting tool, a breaking tool, patch materials, and a waterproofing plan that fits the new floor height.
A diamond blade concrete saw gives you a controlled perimeter cut. A rotary hammer breaks the slab inside that cut without relying on brute force, which helps protect the surrounding floor.
You also need materials that fit the repair:
- Hydraulic cement for fast patching where a slab edge or void needs solid fill; for severe cracking or moisture conditions, consult a professional and use a system approved by the manufacturer and a local concrete or tile specialist
- Bonding primer if the patch system calls for it before new material goes down
- A vapor barrier when the floor assembly and local conditions call for moisture control below the shower build-up
Do not treat patching as an afterthought. A sloppy repair can telegraph through tile, telegraph movement at the edge of the recess, or leave a hollow spot that cracks later. The repair has to support the new pan and the weight of the finished floor.
If the slab shows active moisture, a basic patch is not enough. The floor assembly needs to be chosen with that condition in mind, and that is one reason the site’s broader curbless shower subfloor preparation guide sits above this page in the site structure.
What can go wrong if the recess is too shallow?
Because the drain height depends on the recess, a shallow cut can leave the entry with a bump where the door should be flat. That is the most common failure on slab jobs, and it usually means the recess was not deep enough from the start.
A shallow recess creates three problems:
- the drain sits too high
- the shower floor slope gets too steep
- the bathroom-to-shower transition looks like a patch, not a clean line
The cost is not just visual. A bad height decision can force a redo of tile, waterproofing, or even the drain assembly. That is why the layout has to account for the total floor build-up, not only the concrete thickness removed.
Another mistake is cutting without checking for hidden plumbing or slab type. That can turn a routine recess into a structural repair. A third mistake is trusting filler alone to make up height. A ramp made from finish materials cannot replace the space needed for the drain and pan system underneath.
Better move:
- confirm slab conditions before cutting
- plan the drain height first
- decide whether the floor outside the shower needs to rise
- keep the transition usable for the finished door opening and room layout
A curbless entry is a geometry problem before it is a tile problem. Solve the height first.
How much of the bathroom floor needs to change?
Because the recess affects more than the shower itself, the amount of floor that changes depends on the drain, the slope, and whether you recess only the shower zone or also the approach area.
If the slab recess is deep enough, the change can stay inside the shower footprint plus a small transition strip. If the recess is shallow, the bathroom floor often needs a broader ramped plane so the finished entry stays level. That shift can be modest or noticeable, but it should always be planned as part of the room, not as a last-minute fix.
This is where layout matters:
- A center drain often gives more flexibility than a drain pushed to one side.
- A larger shower footprint can make the slope feel gentler.
- A wider bathroom gives more room for a ramp-up without making the room feel pinched.
- A tight room may force a deeper recess or a different drain choice.
The best decision is the one that preserves the walking line into the shower and keeps the finished floor from looking lumpy. If the outside bathroom floor has to rise, make that change intentional and gradual. If it does not, keep the plan local to the shower area and leave the rest of the room alone.
What should you ask a contractor before anyone cuts concrete?
Because the layout has to work before the first cut, ask about the slab itself, the drain plan, the repair method, and the waterproofing sequence before any dust starts.
Ask these questions:
- Will you verify whether the slab is post-tension?
- How deep do you need to recess for the drain and pan system?
- Will you use a diamond blade concrete saw and a rotary hammer, or a different method?
- What patch material will you use at the edges—hydraulic cement or another repair mortar?
- Will the plan require a vapor barrier or a specific waterproofing layer?
- If the slab cannot be recessed enough, how much will the bathroom floor need to ramp?
A contractor who answers clearly should be able to explain the geometry in plain language. If the answer is vague, that is a warning sign. A curbless entry is not a place for improvisation after the first cut.
If you want the broader sequence for floor build-up and waterproofing order, the hub page on curbless shower subfloor preparation sits above this article and covers the larger assembly around the recess.
Can you cut into a post-tension slab for a curbless shower?
Not without confirming the slab design first. A post-tension slab contains tensioned cables that can be dangerous to cut, and the work may be restricted or require a specialist. If the slab is post-tension, treat that as a stop point until the structure is verified.
How deep do you chip concrete for a curbless shower pan?
The depth has to fit the drain, the pan build-up, and the needed slope, not just enough to make a hole. The exact depth depends on the drain type and the existing slab, so the right answer comes from the floor assembly plan rather than a single fixed number.
Drafted with AI; not yet reviewed by a person.


3 thoughts on “How to Install a Curbless Shower on an Existing Concrete Slab”