How to Install Wood Blocking for Curbless Shower Grab Bars
How to install wood blocking for curbless shower grab bars: Install wood blocking for curbless shower grab bars before the waterproofing membrane and…
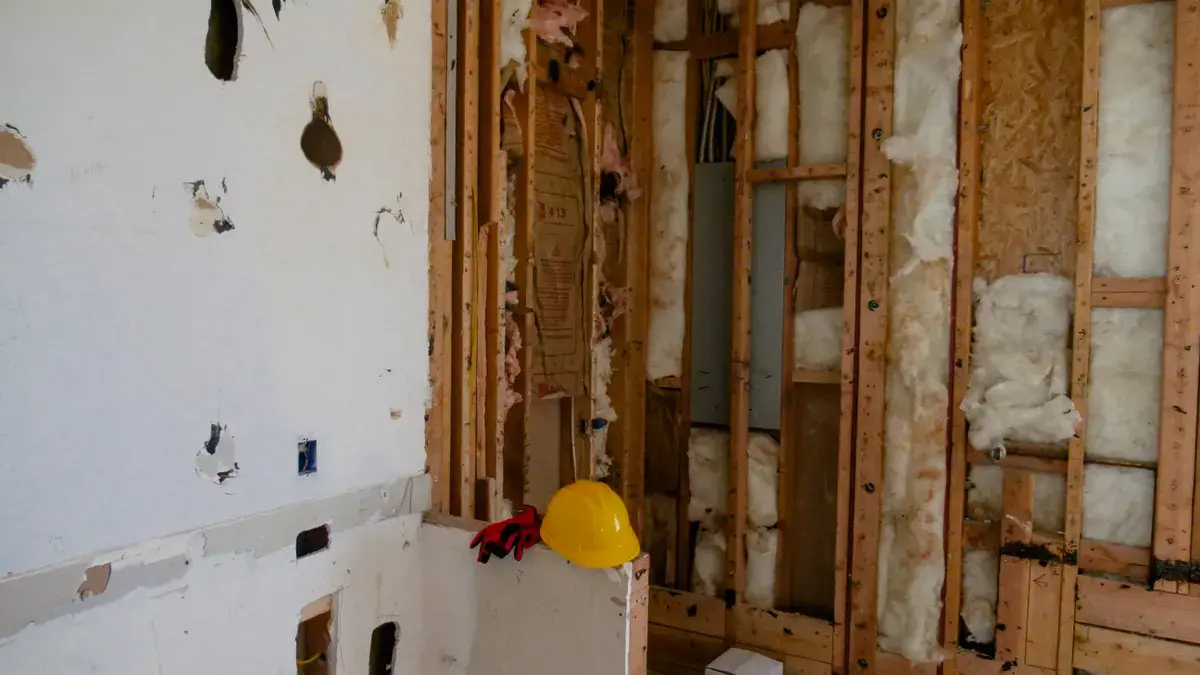
Unfinished wall framing with exposed studs and insulation
Last updated: November 12, 2026
Quick Answer: Install wood blocking for curbless shower grab bars before the waterproofing membrane and cement board go up, usually with 2×6 blocking between the studs. That gives the bar a solid anchor, and it keeps the wall flat for the finished tile. This guide covers the framing order, the blocking size, and the mistakes that crack tile or leave the bar weak.
Key Takeaways
- Put the blocking in while the wall is open, not after tile is up.
- Use 2×6 lumber between studs so the grab bar has a wide fastening zone.
- Keep the blocking aligned with the bar location before the waterproofing membrane covers it.
- Fasten the blocking to structural studs with structural wood screws, not finish screws.
- Plan the load path now if you expect to core drill porcelain tile later.
- If the wall already has finished tile, this is the wrong time to add blocking.
What wood blocking has to do in a curbless shower
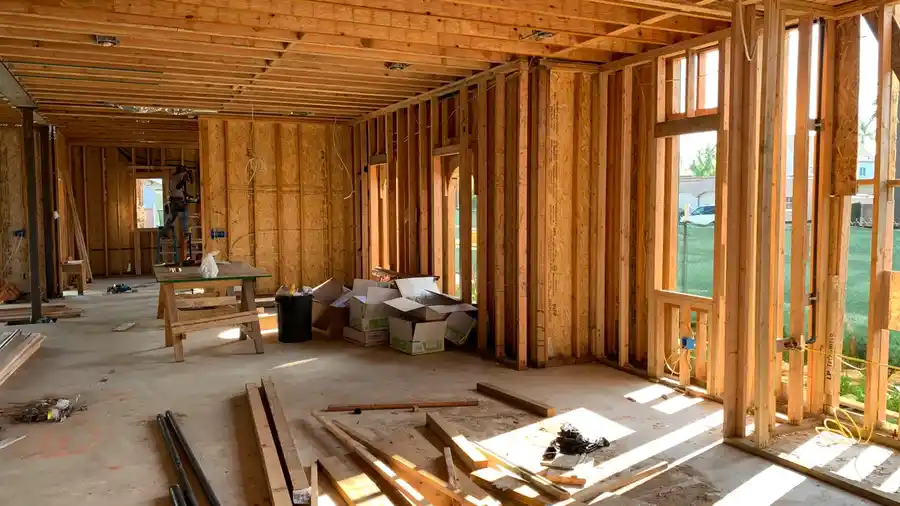
Wood blocking gives the grab bar a structural anchor, and that matters more in a curbless shower because the wall often carries more of the support load. You want the bar to fasten into solid framing, not just backer board or tile.
Picture this: you’ve got the shower wall open, the studs exposed, and the bar location already set. The job is to build a hidden landing zone that matches the grab bar height and span, then seal it behind the wall layers. That means 2×6 blocking, tight between studs, with the face flush to the stud plane.
The truth is, a grab bar is only as good as what’s behind it. A stainless bar screwed into tile with no blocking is asking the wall board and fasteners to do a job they were never meant to do.
- Use 2×6 lumber for the blocking face.
- Place it between structural studs.
- Set it where the grab bar will land, not where it is easy to reach.
- Plan for the bar to pass through tile, membrane, and backer board.
If you also need the full shower layout, link this work to the main ADA curbless shower dimensions guide before you close the wall. This page is only about the backing behind the grab bar.
What size wood should be used for grab bar blocking?
2×6 lumber is the usual choice because it gives you a wide, stable fastening face for a stainless steel grab bar. A 2×4 can work in some walls, but the wider board makes layout easier and gives more room for screw placement.
Picture this: the tile is not on yet, and you’re measuring between studs with a tape and level. You need a block that fits snug, sits flat, and leaves enough surface for the grab bar flange or mounting holes. A 2×6 gives that extra width without forcing weird screw angles.
Here’s the catch: the board has to be installed so its face is flush with the studs. If it sits proud or recessed by even a small amount, the backer board bows or bridges, and the tile work gets messy.
- Choose kiln-dried 2×6 lumber.
- Cut it to fit tightly between studs.
- Keep the face even with the stud faces.
- Use structural wood screws to tie it to the studs.
A 2×6 is also easier to line up with a future bar that spans a standard mounting pattern. That matters when the fasteners need to land cleanly through tile and into real wood.
How do you frame the blocking before the waterproofing membrane goes in?
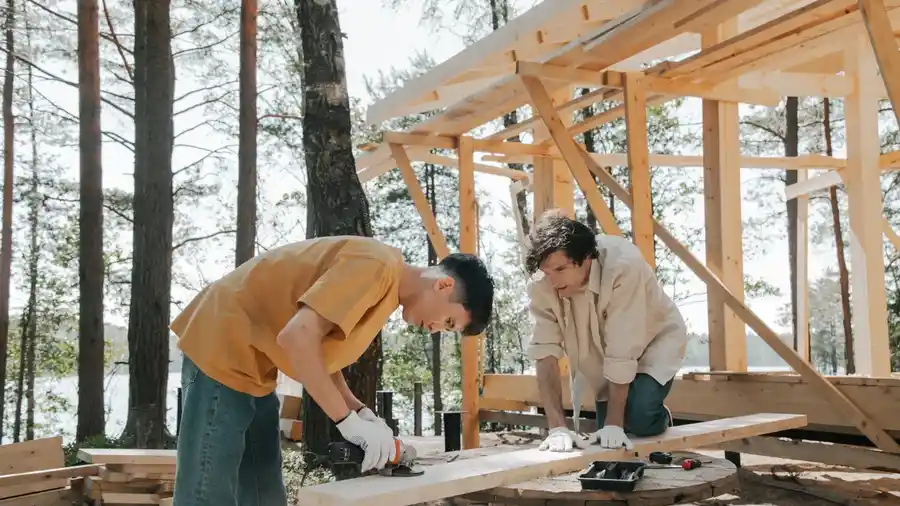
You frame the blocking by opening the stud bay, cutting the 2×6 lumber to length, and fastening it between the studs with structural wood screws before any membrane or backer board goes on. That sequence protects the load path and keeps the wall flat.
Because the wall is still open, you can set the block at the right height and keep it flush with the studs. That makes the later membrane and cement board easier to install. It also keeps the finished wall plane straight.
Picture this: you’re standing in a bare shower wall with a pencil, a speed square, and a drill/driver. The goal is simple—build a solid shelf inside the wall cavity, then bury it behind the waterproofing layers without disturbing the plane of the wall.
- Mark the grab bar height on the studs with a tape measure and pencil.
- Cut the 2×6 blocking to a snug length so it fits between the studs.
- Hold the block flush with the stud faces using a level or straightedge.
- Drive structural wood screws through each stud into the block.
- Check the face for flatness before any membrane or board goes up.
Once the blocking is in, the rest of the wall goes together normally. The waterproofing membrane should cover the assembly without changing the plane, and the cement board should sit cleanly over the framing.
Do not rely on shims to “fix” a bad block later. That creates a hump behind the shower wall, and humps show up fast once tile is set.
How to install wood blocking for curbless shower grab bars
You install wood blocking for curbless shower grab bars by setting the block between studs, fastening it with structural screws, and keeping it flush so the tile and grab bar land flat. That is the order that keeps the wall strong and the finished surface straight.
Because the shower is curbless, the layout has to work from the finished floor reference. The block has to sit at the right height, at the right depth, and with enough support on both ends.
Picture this: the wall cavity is open, the shower pan slope is already planned, and the grab bar location is fixed. Now the job is precision, not guesswork. The block has to sit at the right height, at the right depth, and with enough support on both ends.
- Measure the grab bar location from the finished floor reference, not from the rough subfloor.
- Cut the 2×6 blocking to fit tightly between studs.
- Set the block so its face is flush with the studs.
- Fasten it with structural wood screws into both studs.
- Confirm the block is level and centered on the planned bar.
- Cover the framing with waterproofing membrane and cementitious backer board.
- Drill through tile later only where the fasteners will hit solid wood.
If the shower uses porcelain tile, plan the fastener path before drilling. Porcelain chips if you rush, and a bad hole puts the mount off center. A well-placed block gives you room to drill cleanly and land the screws in wood instead of void.
A stainless steel grab bar belongs on this kind of backing because it resists corrosion in a wet zone. The bar is the visible part; the blocking is the part that decides whether the wall holds.
What goes wrong when the blocking is not tied to the structure?
The blocking fails when it floats, bows, or misses the grab bar layout, and that usually starts with weak fastening or sloppy placement. The cost is a mount that flexes, a tile job that cracks, or a bar that cannot take real load.
Picture this: you’ve already closed the wall, and the grab bar holes land half on tile and half on nothing useful. Now the installer has to chase structure through finished surfaces, which is how clean work turns into patchwork.
Here are the common mistakes that matter most:
- Floating block: If the block is not screwed into the studs, the bar can pull the wall surface.
- Wrong height: If the block is 2 to 3 inches off the planned line, the grab bar fasteners miss the wood.
- Bad flushness: If the block sits proud, the wall board bends and the tile telegraphs the hump.
- Tiny block face: If the wood is too narrow, the fasteners crowd each other and weaken the hold.
The fix is boring, and that is a good thing. Measure once against the planned grab bar, fasten to the studs, and keep the face flat. There is no shortcut that beats that sequence.
Fastening grab bars through tile without wrecking the wall
You fasten through tile by drilling clean holes, hitting the blocking, and using the grab bar’s mounting hardware to pull tight against solid wood. That works only if the blocking was placed for the bar before the tile went up.
Because porcelain is hard, the hole has to start clean and stay centered. A rushed drill can chip the glaze and leave the mount off location.
Picture this: the shower is finished, the porcelain tile is hard, and the bar flange has to sit flat on the wall. The hole location has to match the hidden block exactly, or you’ll chip tile and waste the anchor point.
Use a tile bit for the finished surface, then switch to the correct wood bit if the mount calls for it. Go slow through the tile face. A rushed hole is how glaze chips spread past the flange.
- Mark the mount holes from the bar.
- Drill the tile slowly and keep the bit steady.
- Continue into the blocking with the correct screw size.
- Tighten the bar so the flange sits flat, not cocked.
This is where the earlier framing pays off. If the blocking is solid, the grab bar becomes a simple fastening job instead of a repair job. If it was guessed at, the tile becomes the problem.
For a broader layout check, the hub on ADA curbless shower dimensions and design should sit next to this page in your planning workflow. That keeps the bar, the wall, and the shower geometry working together.
What should you check before the wall gets closed?
You should check the block location, the screw bite, and the wall plane before the waterproofing membrane hides everything. Once the membrane and cement board are up, the easiest correction is the one you should avoid having to make.
Picture this: you’re at the point where the wall still looks simple, but every hidden mistake will be expensive later. A 10-minute check now can save a full tear-out after tile.
Use this quick check:
- Location: Confirm the block matches the planned grab bar height.
- Depth: Make sure the face is flush with the studs.
- Fastening: Verify the block is tied to both structural studs.
- Coverage: Confirm the membrane will cover the area cleanly without bumps.
If the wall passes those checks, close it. If it doesn’t, fix it now. A grab bar is a support item, not a place to improvise.
Can you install grab bars without wall blocking?
You can, but it is the wrong setup for a curbless shower grab bar if you want a solid mount. The better choice is hidden blocking with 2×6 lumber between studs, because that gives the screws real wood to bite into. Without blocking, the mount depends on weaker methods and gives you less confidence in the finished wall.
What size wood should be used for grab bar blocking?
A 2×6 is the standard practical choice for grab bar blocking in a shower wall. It gives a wider fastening face than a 2×4 and makes it easier to place the grab bar screws where they belong. If the wall layout is tight, the exact fit still has to match the stud bay and stay flush.
How high should grab bar blocking be framed?
Grab bar blocking should be framed at the exact height of the planned grab bar, measured from the finished floor reference. The block needs to sit where the bar will land after tile and backer board go on, not where it is convenient to reach. That keeps the load path straight and the mounting holes in the right place.
Drafted with AI; not yet reviewed by a person.

5 thoughts on “How to Install Wood Blocking for Curbless Shower Grab Bars”