How to Waterproof the Dry Zone Transition in a Curbless Shower
Waterproof the dry zone transition in a curbless shower by carrying the membrane continuously past the zero-threshold line, with the threshold detail…
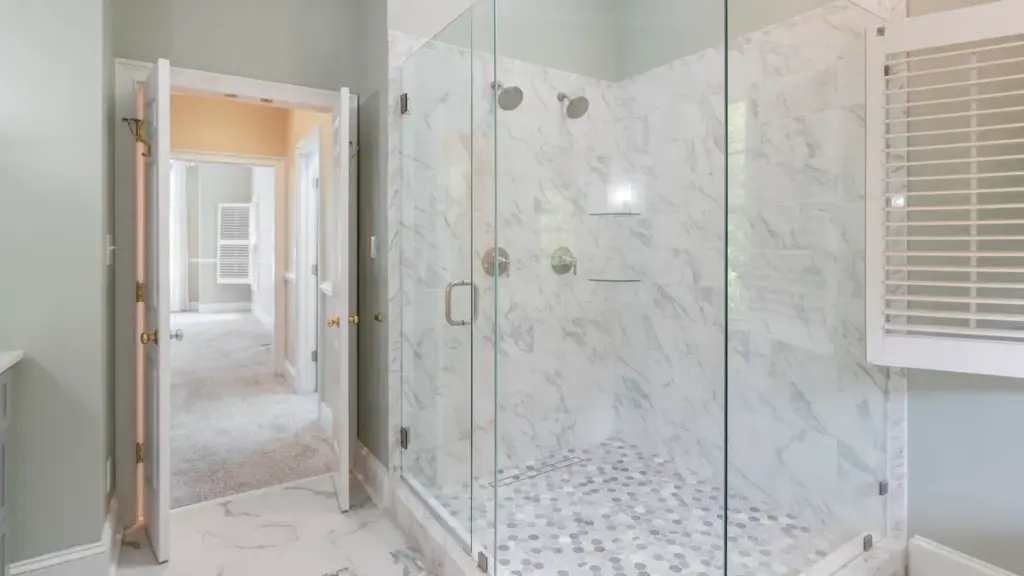
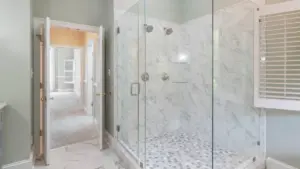
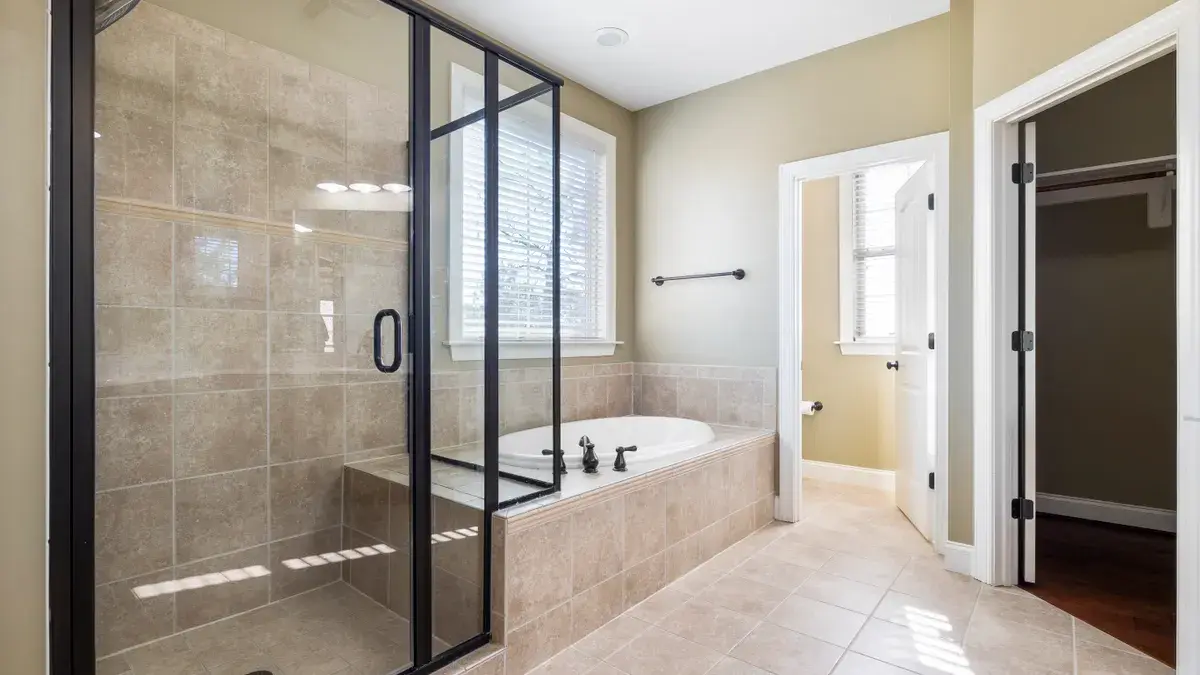
Walk-in shower with glass panels in a bathroom
Last updated: November 15, 2026
Quick Answer: waterproof the dry zone transition in a curbless shower by carrying the membrane continuously past the zero-threshold line, with the threshold detail overlapping correctly and sealed with the right profile and elastomeric sealant. The weak point is not the tile itself; it is the line where splash, capillary action, and floor movement try to pull water out of the wet zone and into the dry floor. This article covers how to waterproof the dry zone transition in a curbless shower at that line.
Key takeaways
- The transition line needs a continuous waterproof path, not a patched seam.
- A waterstop profile can help protect the zero-entry edge, but it does not replace membrane overlap.
- Capillary action can move water under tile even when the surface looks dry.
- The safest detail is usually a bonded membrane carried past the threshold boundary and tied into adjacent floor waterproofing.
- This is not the place for a thin bead of caulk alone.
What is the dry zone transition?
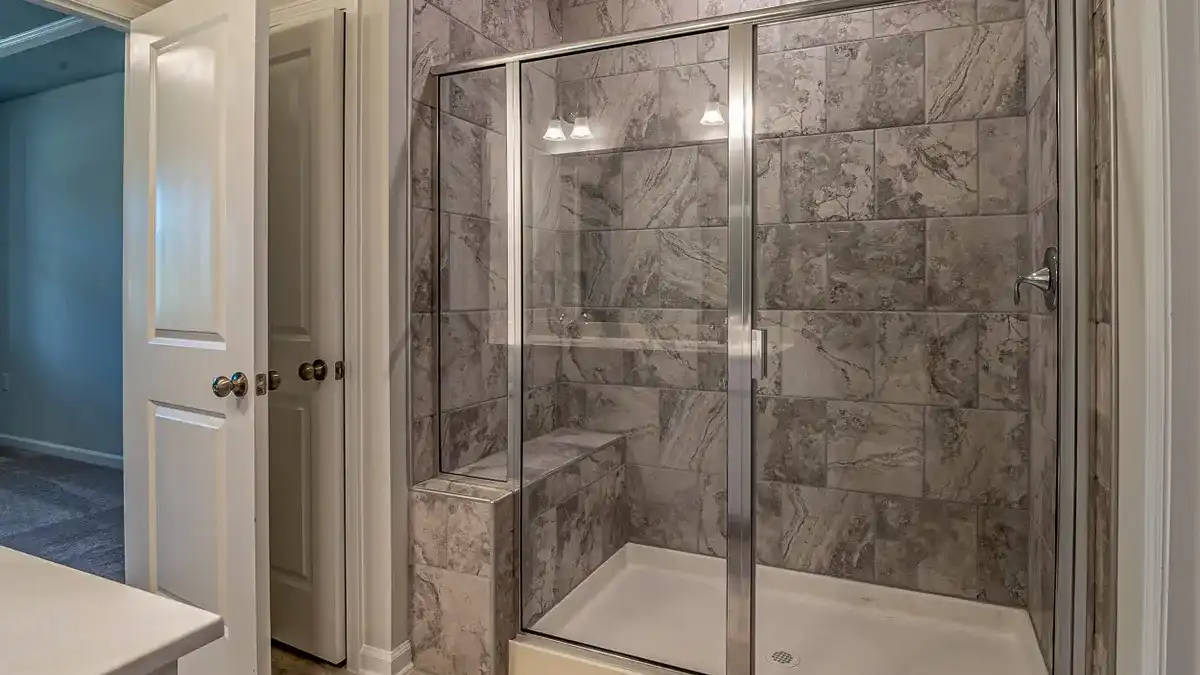
The dry zone transition is the line where the waterproof wet area meets the normal room floor in a curbless shower. In plain terms, it is the zero-threshold edge that has to keep water from crawling under tile and moving sideways into the dry room.
That line is small, but the risk is not. Water does not need a visible puddle to cause trouble; it can follow grout joints, thin-set ridges, and tiny gaps by capillary action. Once moisture reaches the floor assembly outside the shower, it can spread farther than a casual glance suggests.
This is why the transition deserves its own detail, not just a general “waterproof the shower” plan. A curbless layout removes the curb, so the boundary has to do more work. The membrane, the edge profile, and the sealant all have to act as one system.
A good mental model is a doorway that must stay watertight without a step. The tile surface is only the top layer. The real defense is below it, where the waterproof layer turns the corner and stays continuous.
If you want the broader system view, the curbless shower waterproofing hub on this site should sit beside this page, not instead of it. This article focuses only on the dry zone transition line.
Which layer stops water at the threshold?
The bonded membrane does most of the work at the threshold, while the profile and sealant finish the edge. A waterstop profile can help control the line where the wet zone meets the dry floor, but it is not a substitute for a continuous transition membrane overlap.
The most common mistake is treating the tile edge as the waterproof edge. Tile and grout are wear surfaces, not a water barrier. If the membrane stops short of the threshold or ends in a place where water can get behind it, the assembly has a weak point from day one.
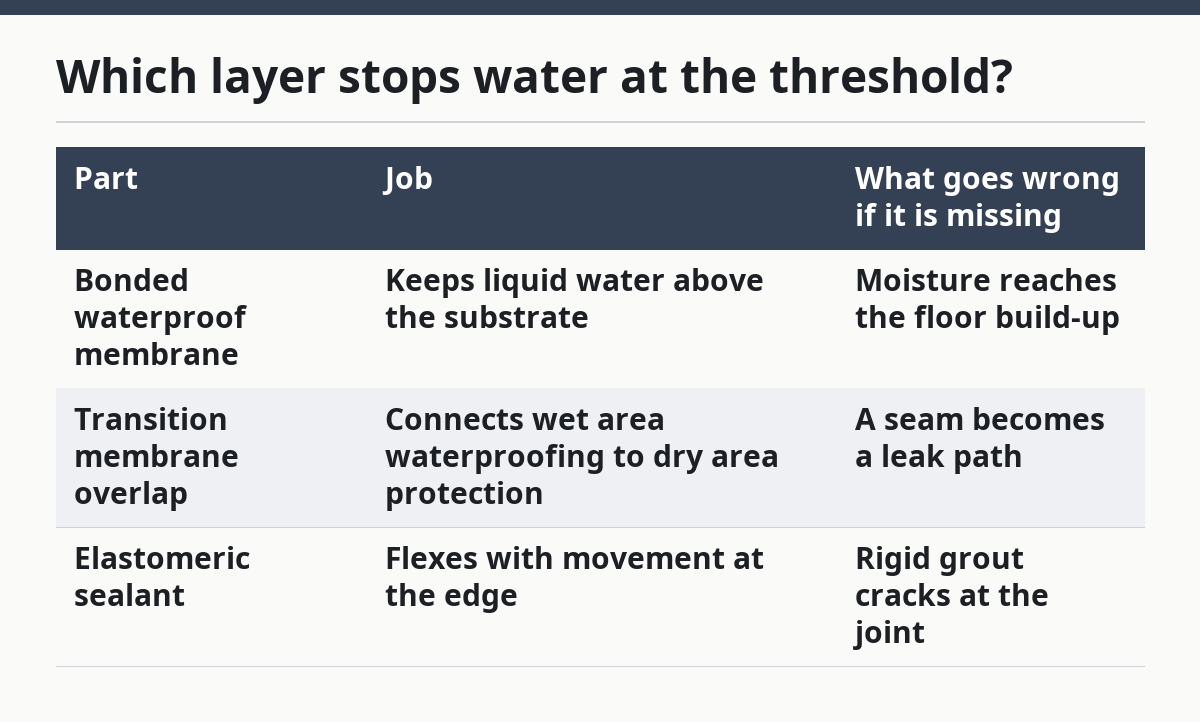
A sound detail usually includes three parts:
| Part | Job | What goes wrong if it is missing |
|---|---|---|
| Bonded waterproof membrane | Keeps liquid water above the substrate | Moisture reaches the floor build-up |
| Transition membrane overlap | Connects wet area waterproofing to dry area protection | A seam becomes a leak path |
| Elastomeric sealant | Flexes with movement at the edge | Rigid grout cracks at the joint |
Industry guidance from membrane makers such as Schluter’s KERDI waterproofing system and related accessories shows the basic idea: the membrane must stay continuous, and all seams must be tied into the system. That same logic aligns with ANSI A118.10 membrane performance expectations and with TCNA curbless shower detailing. For a broader standards reference, see the Tile Council of North America and the ANSI A118.10 membrane standard information from the Tile Council of North America.
The dry zone transition is wrong for a hard grout joint alone. It is also wrong for a random caulk line that is not backed by a waterproof layer. The edge needs movement tolerance and water control at the same time.
How do you waterproof the dry zone transition?
You waterproof the dry zone transition by creating a continuous membrane path, overlapping the transition pieces, and sealing the surface edge without breaking the waterproof layer. The process is simple in concept and unforgiving in execution.
-
Mark the threshold boundary before tile goes down.
Set the exact line where the wet area ends and the dry floor begins, then keep that line visible during layout. A clear boundary helps prevent the membrane from stopping too short or wandering under the tile pattern. -
Carry the waterproof membrane beyond the wet zone.
Extend the membrane across the zero-entry edge and into the adjoining floor area, rather than ending it at the visible tile line. The result should be one uninterrupted waterproof plane, not a butt joint at the doorway. -
Overlap the transition membrane according to the system detail.
Where one sheet meets another, use the required overlap so water cannot sneak through the seam. This is the transition membrane overlap that keeps the edge from becoming a capillary path. -
Use a waterstop profile where the assembly calls for one.
Fit the profile at the zero-threshold edge so it protects the line from direct water attack and helps define the boundary. The profile is a helper, not the main barrier, so it should sit with the membrane detail rather than replace it. -
Seal the exposed edge with elastomeric sealant, not rigid grout.
Fill the movement-sensitive joint with an elastomeric sealant that can flex as the floor moves. A rigid joint at this location tends to crack, and a cracked joint is a path for splash and cleaning water. -
Tie the transition into the room-floor waterproofing.
If the dry floor area is also protected, connect the curbless shower membrane to that area instead of stopping at the threshold. This reduces the chance that water that gets past the tile edge can travel sideways into vulnerable subfloor layers. If the room-floor area is vulnerable, consult a qualified installer before tying it into the same waterproofing strategy. -
Keep the tile edge and the membrane edge aligned.
Do not leave a hidden pocket or void where water can sit. A clean edge helps the sealant bridge correctly and keeps the assembly from creating a small trench at the threshold.
The main goal is not a prettier line; it is a line that refuses to let water under the surface. That matters more in a curbless shower than in a framed shower because there is no curb to interrupt flow at the finish floor.
What makes water creep past tile?
Water creeps past tile because the assembly can act like a sponge path even when the surface looks intact. Capillary action pulls moisture into tiny spaces, and the floor slope can guide that moisture toward the dry side.
This is why a good-looking grout joint can still fail as a water control detail. Grout is porous enough to absorb and pass moisture, especially at a transition where movement is common. If the membrane does not continue under the edge, water can move below the visible finish and then spread laterally.
Three things make the problem worse. First, a flat or weak slope slows drainage near the boundary. Second, a gap in the membrane overlap gives water a direct route. Third, a hard joint at a movement point cracks sooner than a flexible sealant joint.
The practical fix is to assume water will find the easiest path. Build the threshold so that the easiest path is still blocked by membrane, profile, and sealant working together. That approach is more reliable than trying to stop water with surface tile alone.
A useful check is to look at the detail as if water were a thin film, not a puddle. If that film can slide, wick, or sit at the edge for even a short time, the transition needs better continuity.
What are the common mistakes at the transition?
The most common mistakes are stopping the membrane too early, relying on grout at the edge, and leaving a gap between the wet-zone assembly and the room floor. Each one creates a route for water migration, and each one is avoidable.
A short list helps:
-
Membrane ends at the visible tile line.
Cost: water can get under the finish and travel into the floor build-up.
Better: extend the waterproof layer past the threshold boundary. -
Grout is used as the movement joint.
Cost: cracking and loss of water control at the edge.
Better: use elastomeric sealant where movement is expected. -
Transition pieces are installed without proper overlap.
Cost: seams become leak paths.
Better: follow the system overlap detail instead of guessing at fit. -
The waterstop profile is treated as the only barrier.
Cost: false confidence at the most exposed line.
Better: use the profile as one part of a continuous assembly. -
The dry floor is left unconnected to the waterproofing plan.
Cost: lateral moisture transfer into adjacent flooring.
Better: tie the threshold detail into the surrounding floor protection.
This is also where budget shortcuts backfire. Saving a little material at the edge can cost a lot more if moisture reaches the subfloor. The threshold is the wrong place to improvise.
How far outside the shower should waterproofing go?
Waterproofing should extend past the visible wet area enough to protect the transition and adjacent floor from lateral moisture transfer. The exact distance depends on the system detail, the floor build-up, and the manufacturer’s instructions, so the safe answer is to carry the membrane beyond the threshold boundary rather than stopping at the tile edge.
That matters because splash is not the only source of moisture. Water can pass through the tile surface, collect at the edge, and move sideways under the floor finish. A membrane that ends exactly where the tile ends leaves no margin for that movement.
The practical rule is simple: the dry zone transition should still be part of the waterproofing layout, not outside it. If the room floor next to the curbless opening is vulnerable, tie that area into the same protection strategy instead of treating it as separate. That is the cleanest way to reduce hidden moisture spread.
For a detailed system match, consult the membrane maker’s instructions and the relevant tile industry detail before setting tile. In North American practice, ANSI A118.10 and TCNA details are the names that usually govern the conversation.
What should a careful installer remember?
A careful installer remembers that the edge is a system, not a line on the floor. The threshold has to resist direct water, wicking, movement, and lateral spread all at once.
The most dependable approach is to keep the waterproof layer continuous, use the transition membrane overlap correctly, choose a waterstop profile when the detail calls for it, and finish the joint with elastomeric sealant. None of those parts works well by itself. Together, they give the zero-entry edge a real defense instead of a cosmetic one.
This page is not about flood testing curbless showers or about shower doors. It is about the dry zone transition line, where the waterproofing either protects the room or fails quietly. If that line is done right, the rest of the assembly has a chance to do its job.
FAQ
How do you stop water migrating under tile past a curbless shower?
You stop water migration by keeping the membrane continuous across the transition and by sealing movement joints with elastomeric sealant instead of grout. The edge also needs proper overlap and, where specified, a waterstop profile so water cannot use the threshold as a capillary path.
How far outside the shower does waterproofing need to go?
Waterproofing needs to extend beyond the visible wet area far enough to protect the threshold and nearby floor from sideways moisture movement. The exact reach depends on the system detail, so the safe approach is to continue the membrane past the transition line rather than ending it at the tile edge.
Is the tile edge ever the waterproof edge?
No. The tile edge is a finish line, not the waterproof edge. The membrane should be the waterproof edge, and the joint should be detailed so movement does not break that continuity.
Can a waterstop profile replace membrane overlap?
No. A waterstop profile can help at the edge, but it should not replace membrane overlap. The overlap is what keeps the waterproof path continuous.
Should grout be used at the transition joint?
No, not where movement is expected. Use elastomeric sealant at the joint so the edge can flex without cracking.
Drafted with AI; not yet reviewed by a person.